Brushed Stainless Steel Finishing: 6 Essential Quality Control Tips for Procurement
Inconsistent brushed finishes can devalue your final product. This leads to costly rejections, project delays, and customer dissatisfaction. Master these six essential quality control tips to ensure perfection.
Effective quality control for brushed stainless steel involves understanding the finishing process, defining clear parameters, using proper inspection techniques, ensuring batch consistency, documenting issues, and partnering with a reliable supplier. These steps guarantee aesthetic appeal and performance, safeguarding your investment and brand reputation.

As Global Business Director at MFY, I've seen firsthand how a small detail like surface finish can make or break a high-stakes project. A premium brushed finish communicates quality and durability, whether it's on a kitchen appliance, an architectural panel, or a piece of industrial equipment. But achieving that perfect, consistent look across thousands of square meters is a significant supply chain challenge. It requires more than just a good price; it demands a rigorous, systematic approach to quality control. Let's walk through the six tips that my most successful clients use to get it right every time.
Why is Understanding the Basics of Brushed Stainless Steel Finishing So Important?
Misunderstanding the finishing process often causes mismatched expectations. This leads to specifying the wrong finish for your application, resulting in costly errors that are hard to fix downstream.
Understanding the basics means knowing how abrasives create the linear grain, the different grit levels (like the common #4 finish), and how the base material's quality affects the final look. This foundational knowledge is crucial for writing accurate specifications and evaluating supplier capabilities.

The term "brushed finish" sounds simple, but it covers a wide range of textures and appearances. The finish is created by mechanically abrading the steel's surface with a belt or wheel, creating a distinctive pattern of very fine lines. The key is that these lines are unidirectional, which we call the "grain." I remember a project with a German appliance manufacturer where the grain direction wasn't specified for different components. When assembled, the final product looked disjointed because the light reflected differently off each panel. A simple clarification at the start could have saved them weeks of rework. This is why a deep understanding is not just academic; it's a practical necessity.
The 'Grain' Direction and Its Importance
The grain is the most defining characteristic of a brushed finish. When procuring material for a project where multiple pieces will be installed next to each other, like wall panels or elevator doors, specifying a consistent grain direction is non-negotiable. It ensures a seamless and professional aesthetic.
Grit and Its Impact on Appearance
The "coarseness" of the finish is determined by the grit of the abrasive used. A lower grit number results in a coarser finish, while a higher number creates a finer, smoother look.
| Finish Designation | Typical Grit | Appearance | Common Application |
|---|---|---|---|
| #3 Finish | 100-120 Grit | Coarse, pronounced grain | Industrial equipment |
| #4 Finish | 150-180 Grit | General-purpose, "satin" look | Kitchen appliances, sinks |
| #6 Finish | 220-280 Grit | Fine, soft satin look | Architectural trim, ornaments |
Knowing this helps you specify exactly what you need, moving beyond vague terms like "satin finish."
What are the Key Quality Parameters for Brushed Finishes You Must Identify?
Vague quality standards lead to subjective rejections. This ambiguity creates disputes with suppliers and results in inconsistent products that can damage your brand's credibility.
Key quality parameters include surface roughness (Ra value), gloss level, color consistency, and the absence of visual defects like deep scratches, pits, or chatter marks. Defining these metrics in your purchase order provides an objective, measurable basis for acceptance or rejection.

To procure with confidence, you must move from subjective descriptions to objective data. Your specifications should be a clear, technical document, not a marketing brief. For example, instead of asking for a "nice finish," you should specify a target surface roughness and an acceptable range. This protects both you and your supplier, as it creates a clear benchmark for quality that can be verified with instruments. At MFY, we encourage our clients to work with us to establish these parameters before the first order is even placed. This initial alignment is the single most important step in building a successful long-term partnership and ensuring the final product meets end-user expectations, whether it's for a high-end architectural facade or a durable food processing surface.
Beyond Visuals: Quantifiable Metrics
Relying on the human eye alone is a recipe for inconsistency. We use precise instruments to measure key characteristics, and you should demand this data from your suppliers.
| Parameter | Metric / Unit | Importance |
|---|---|---|
| Surface Roughness | Ra (µm) | Measures the average texture depth. It affects cleanability, feel, and bacterial resistance. |
| Gloss | GU (Gloss Units) | Measures reflectivity at a specific angle. Crucial for aesthetic consistency on large surfaces. |
| Color | Lab* values | Provides a numerical value for color, ensuring uniformity across different production batches. |
Common Visual Defects to Watch For
Even with instruments, a visual check is vital. Train your inspectors to look for common flaws such as banding (visible stripes), chatter marks (vibrations from the machine), deep scratches that cut through the grain, and any surface contamination.
How Can You Implement Effective Inspection Techniques for Brushed Finishes?
Relying only on the naked eye is a significant risk. Subtle but critical flaws can be missed during a simple visual check, leading to product failures or rejections in the field.
Effective inspection combines visual checks under controlled, consistent lighting with instrumental analysis. Use profilometers to measure surface roughness (Ra) and gloss meters for reflectivity. Establishing and using approved physical master samples for comparison is also a critical and practical technique.

Your inspection process is your primary defense against non-conforming material. It needs to be robust, repeatable, and based on the quality parameters we just discussed. The first step is creating the right environment. Trying to inspect a reflective surface under variable factory lighting is nearly impossible. A dedicated inspection booth with standardized, angled lighting will reveal imperfections that are otherwise invisible. Beyond that, technology is your best friend. At MFY, we're continuously investing in our quality labs. We're even exploring advanced digital surface analysis, which creates a 3D map of the surface texture. This allows our teams to spot subtle anomalies in the grain that traditional tools might miss. While this technology is still emerging for widespread use, it shows where the industry is heading: towards data-driven, objective quality assurance.
The Power of Master Samples
Never underestimate the power of a "golden sample." This is a physical piece of material, approved by you, that serves as the ultimate reference for every delivery. It should be stored properly and used for side-by-side visual comparisons. When a dispute arises, the master sample is the final arbiter.
Leveraging Technology for Objectivity
Your inspectors should be equipped with, and trained to use, the right tools. A handheld profilometer can provide an instant Ra reading to check against your specification. A gloss meter does the same for reflectivity. These tools remove subjectivity and empower your team to make decisions based on data, not opinion.
What is the Best Way to Ensure Consistency in Surface Quality Across Batches?
Your first delivery is perfect, but the next is slightly different. This inconsistency disrupts your production lines, creates mismatched products, and ultimately damages your brand's reputation for quality.
To ensure consistency, demand that your supplier uses a fixed production process, including the same abrasive belt type, machine settings, and base material source. Require quality control reports with each batch and periodically re-verify against the master sample to catch deviations early.
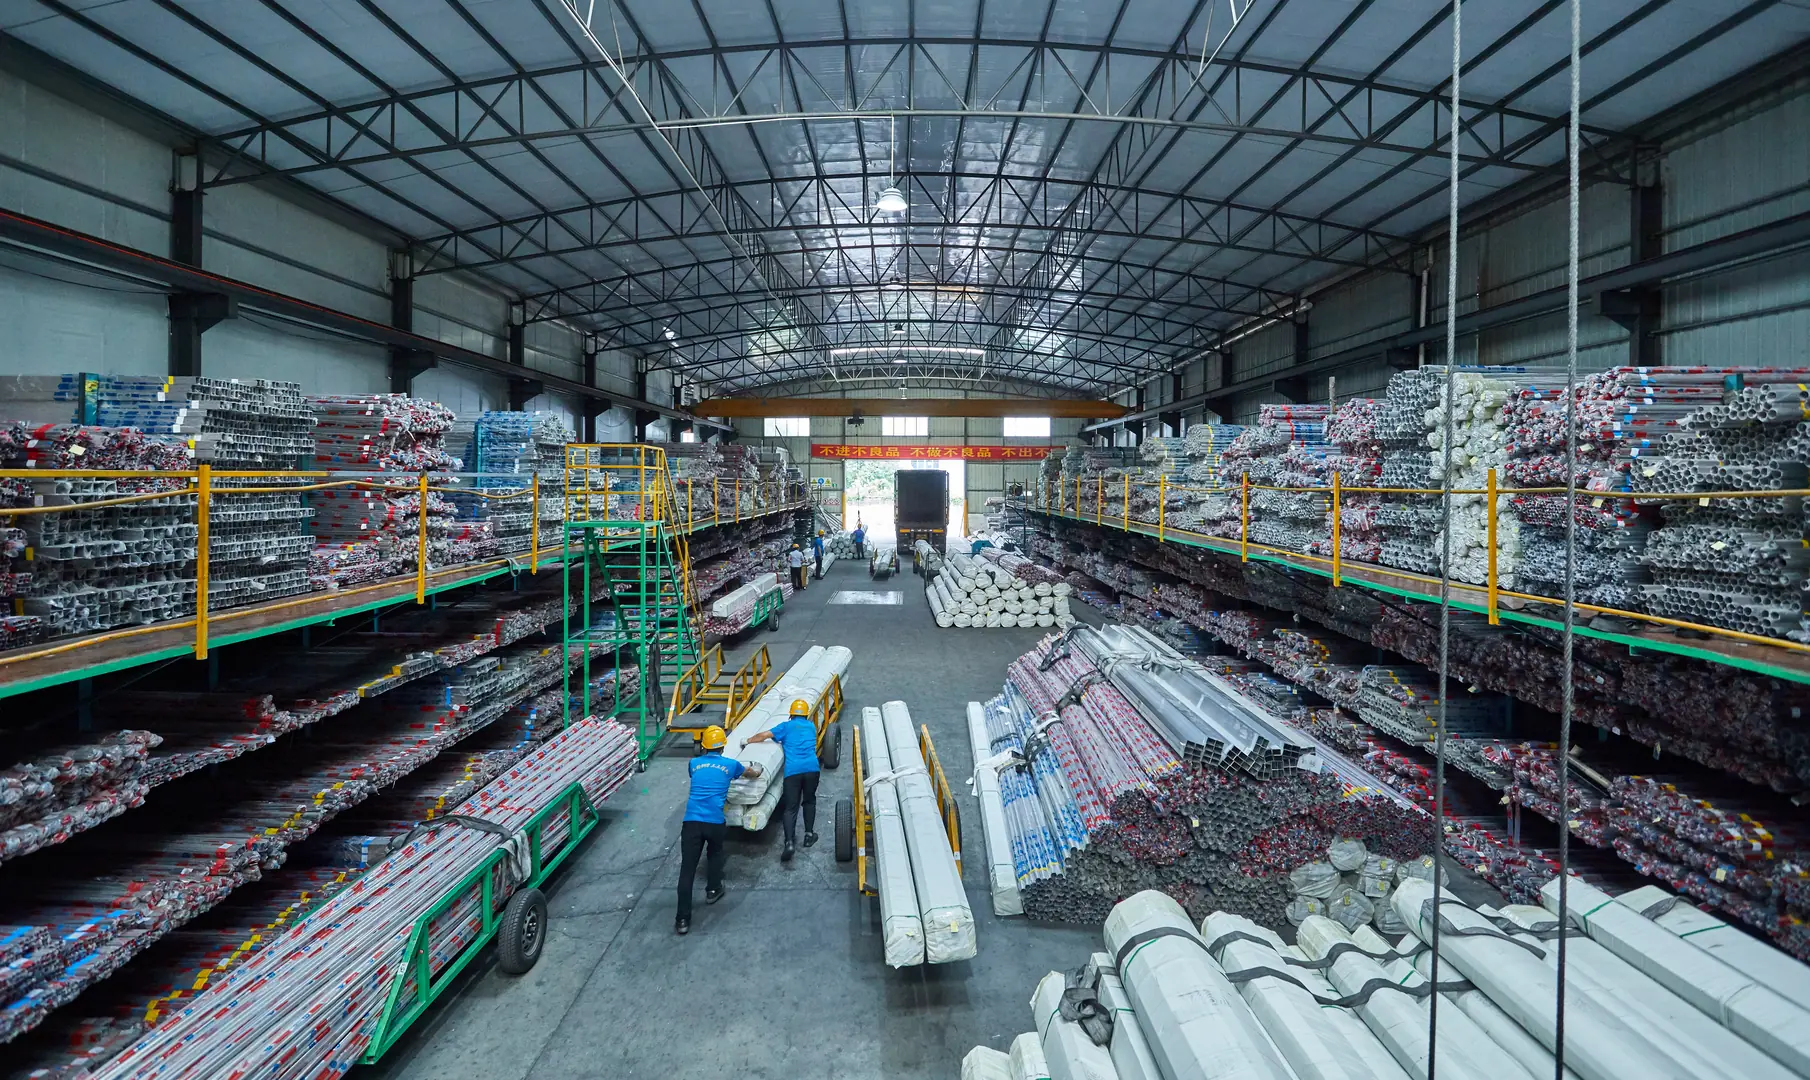
Consistency is the hallmark of a world-class manufacturing operation. For brushed finishes, it comes from process control. We worked with a large elevator manufacturer in the Middle East who faced this exact problem. The panels for one floor looked slightly different from the next. We helped them trace the issue back to their previous supplier, who had switched abrasive belt manufacturers between production runs to save a few cents. The change was small, but the visual impact was significant. We helped them implement a "process lock-in" agreement with us. This means we document and adhere to a strict "recipe" for their product—from the specific grade of the base coil to the line speed and abrasive brand. This is how you move from hoping for consistency to engineering it into your supply chain.
The 'Process Recipe' Lock-In
A professional supplier should be able to provide you with a Process Control Plan. This document outlines every key variable in the production of your material. Agreeing to "lock in" this process means the supplier cannot make changes without your formal approval. This is a powerful tool for ensuring stability.
Data-Driven Verification
Don't just trust; verify. Your purchase order should require a Certificate of Conformance (CoC)[^1] and a quality inspection report with every shipment. This report should include the actual measured values for key parameters like Ra and gloss for that specific batch. This creates a data trail and holds your supplier accountable for every delivery.
How Should You Document and Address Quality Issues Promptly?
Finding a defect is only half the battle. If you can't communicate the issue clearly and formally, it creates confusion, slows down the resolution, and sours your relationship with the supplier.
Document issues immediately with high-resolution photos, detailed descriptions, and measurements, referencing the specific purchase order and master sample. Communicate this through a formal Non-Conformance Report (NCR). A good supplier will have a clear process for root cause analysis and corrective action.
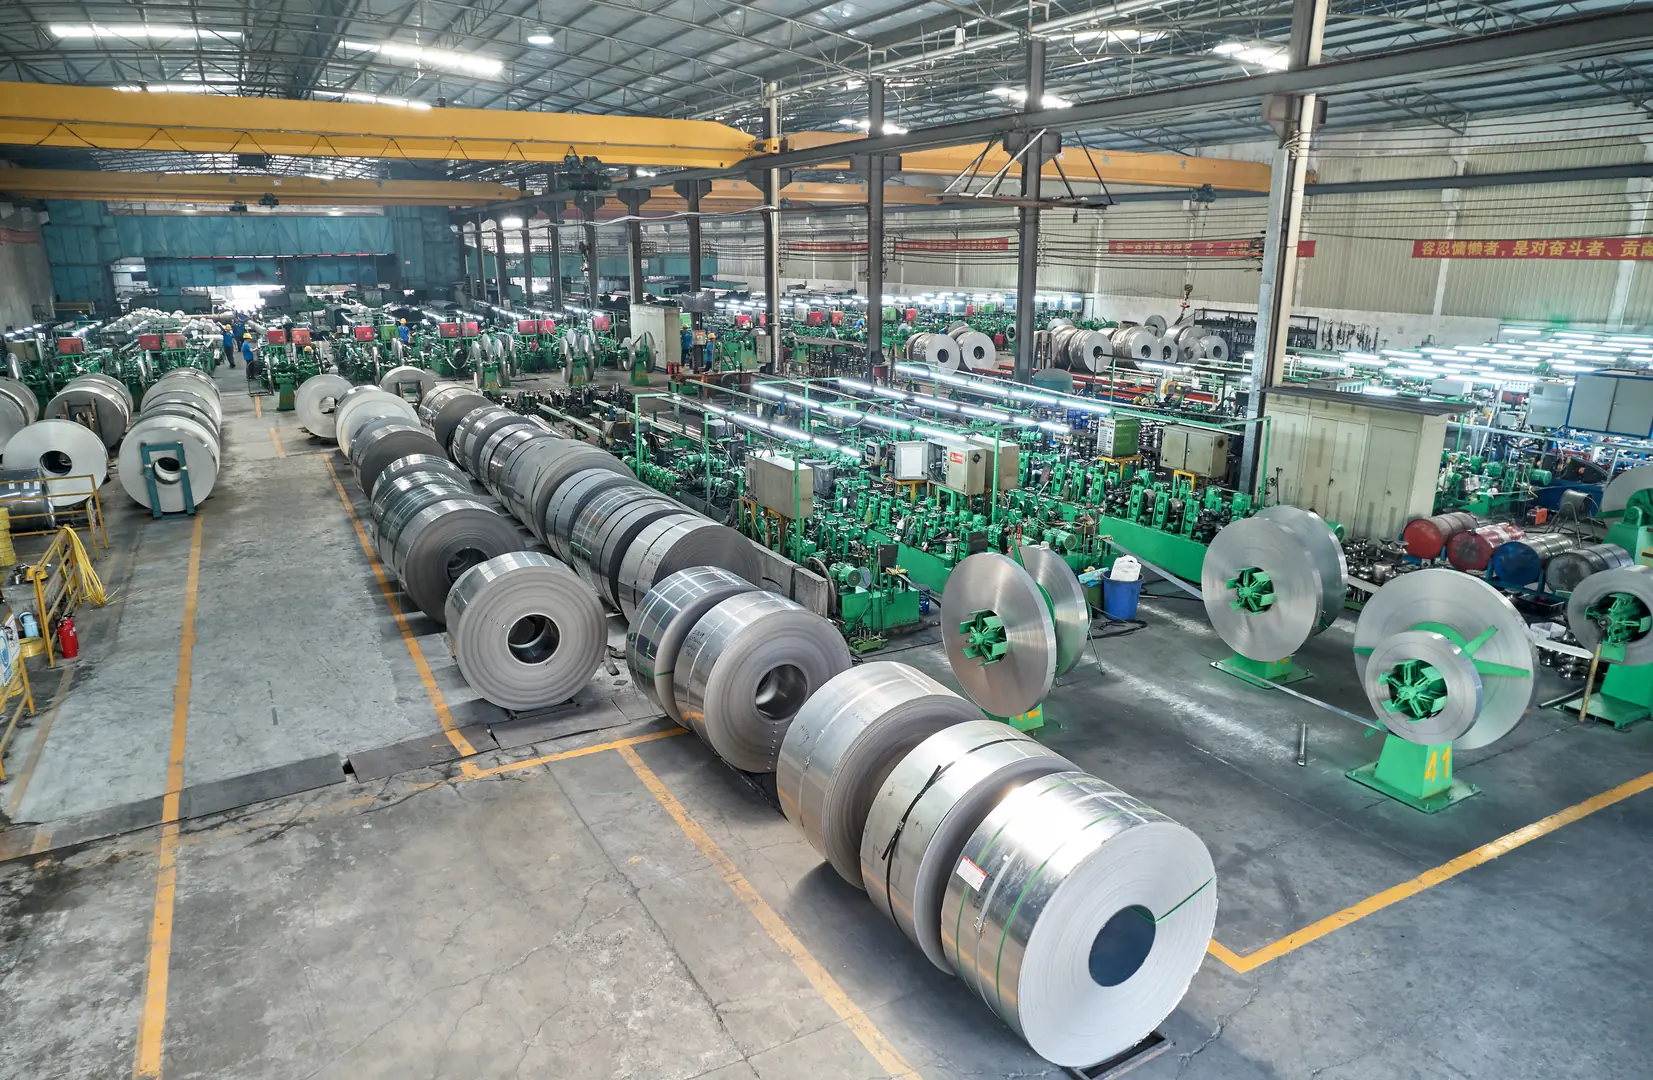
A swift and professional response to a quality issue is critical. The goal isn't to place blame but to solve the problem and prevent it from happening again. A well-structured system for reporting non-conformances is essential. It ensures that your supplier gets all the information they need to understand the problem and investigate it on their end. Vague emails with blurry photos won't work. You need a formal, data-rich report. The best suppliers welcome this feedback because it helps them improve. The ultimate objective is not just to get a credit or a replacement for a bad batch; it's to work collaboratively to strengthen the process so that future batches are perfect. This is the difference between a simple transactional relationship and a true supply chain partnership.
Building the Perfect Non-Conformance Report (NCR)
Your NCR should be a clear, concise, and factual document. It must include:
- Identification: Purchase order number, coil/sheet number, date.
- Photos & Videos: Clear, well-lit images showing the defect, with a scale for reference.
- Description: A factual description of the problem (e.g., "Deep scratches running against the grain, measuring 0.5mm wide").
- Quantification: How much material is affected (e.g., "3 out of 10 sheets," or "the first 50 meters of the coil").
- Reference: A comparison to the master sample or technical specification.
From Problem to Prevention
A good supplier will respond to an NCR with a Corrective Action Report (CAR)[^2]. This report should detail their root cause analysis and outline the specific, verifiable steps they will take to prevent the issue from recurring.
Conclusion
Mastering brushed stainless steel procurement isn't about luck; it's about a systematic approach. By understanding the basics, defining clear standards, inspecting effectively, ensuring consistency, and choosing the right partner, you can ensure every delivery meets your exact specifications, protecting your projects and your reputation.
Have Questions or Need More Information?
Get in touch with us for personalized assistance and expert advice.
