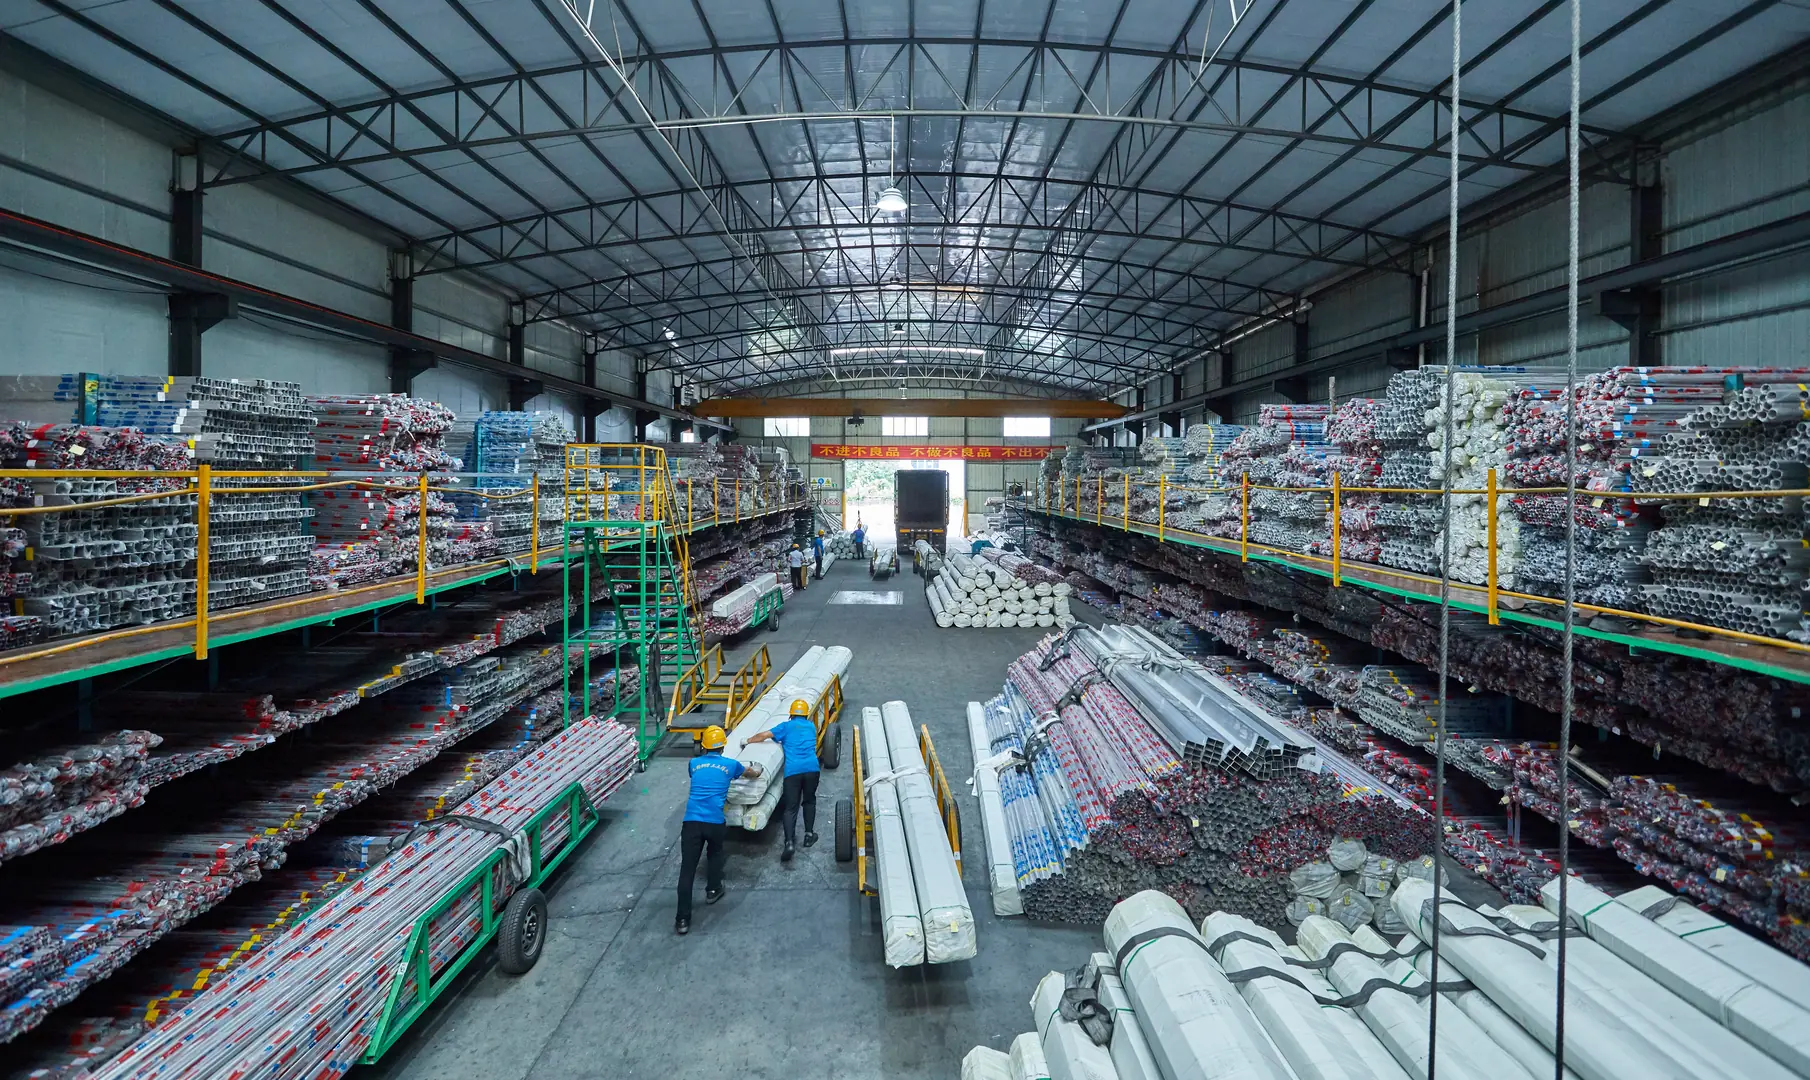
Is it important to clean stainless steel before welding? Technical Guidance on QA Standards
A perfect weld plan is ruined by unseen surface dirt. This small oversight can lead to catastrophic failures and costly rework, undermining your entire project's integrity and your reputation.
Yes, cleaning stainless steel before welding is absolutely critical. It is a non-negotiable quality assurance step that removes contaminants which would otherwise compromise the weld's strength, corrosion resistance, and overall structural integrity, ensuring the final product meets industry standards.
As the Global Business Director at MFY, I’ve seen firsthand how the smallest details can have the biggest impact on large-scale industrial projects. The quality of a weld is not just determined by the welder's skill or the equipment used; it begins with the preparation of the material itself. Skipping the cleaning step is a gamble that experienced professionals are never willing to take. Let's dive into why this foundational step is so essential for anyone working with stainless steel.
Why is cleaning stainless steel so crucial before welding?
Skipping pre-weld cleaning seems like a time-saver on a busy schedule. But this shortcut introduces hidden risks that can compromise the entire structure, leading to costly and dangerous failures.
Cleaning stainless steel before welding is crucial because it removes surface contaminants that interfere with the welding process. This ensures the formation of a strong, durable, and corrosion-resistant bond, which is fundamental for meeting quality assurance (QA) standards and ensuring long-term performance.
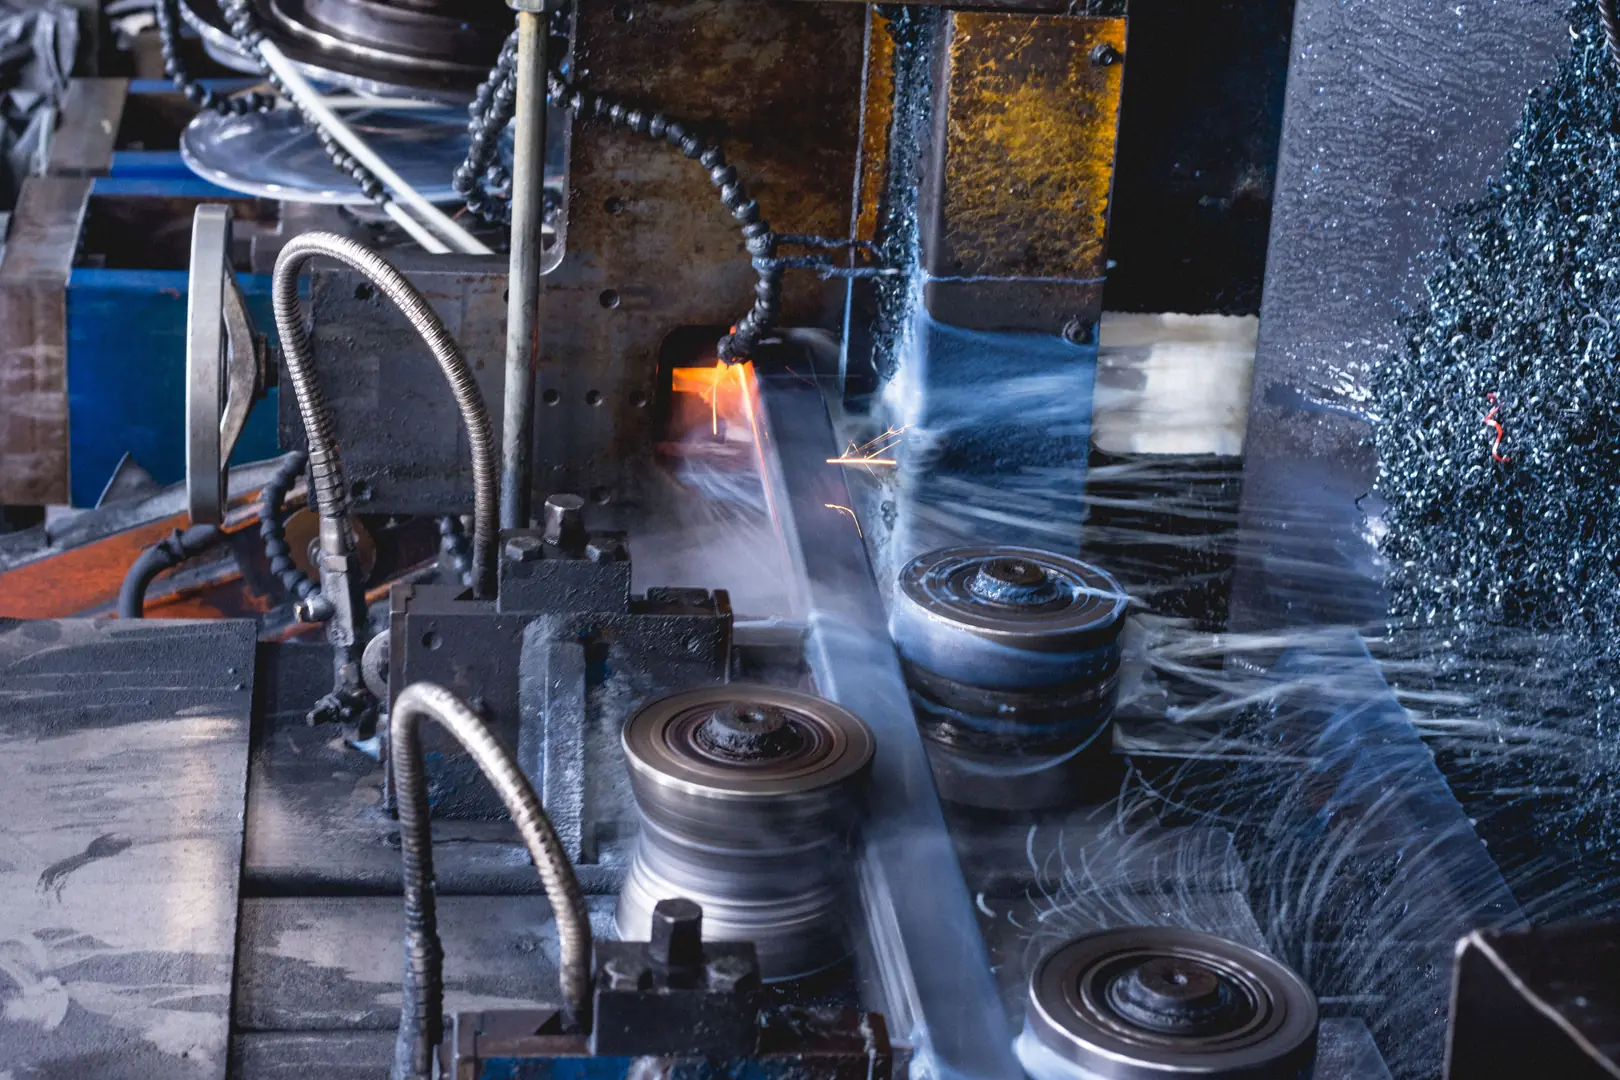
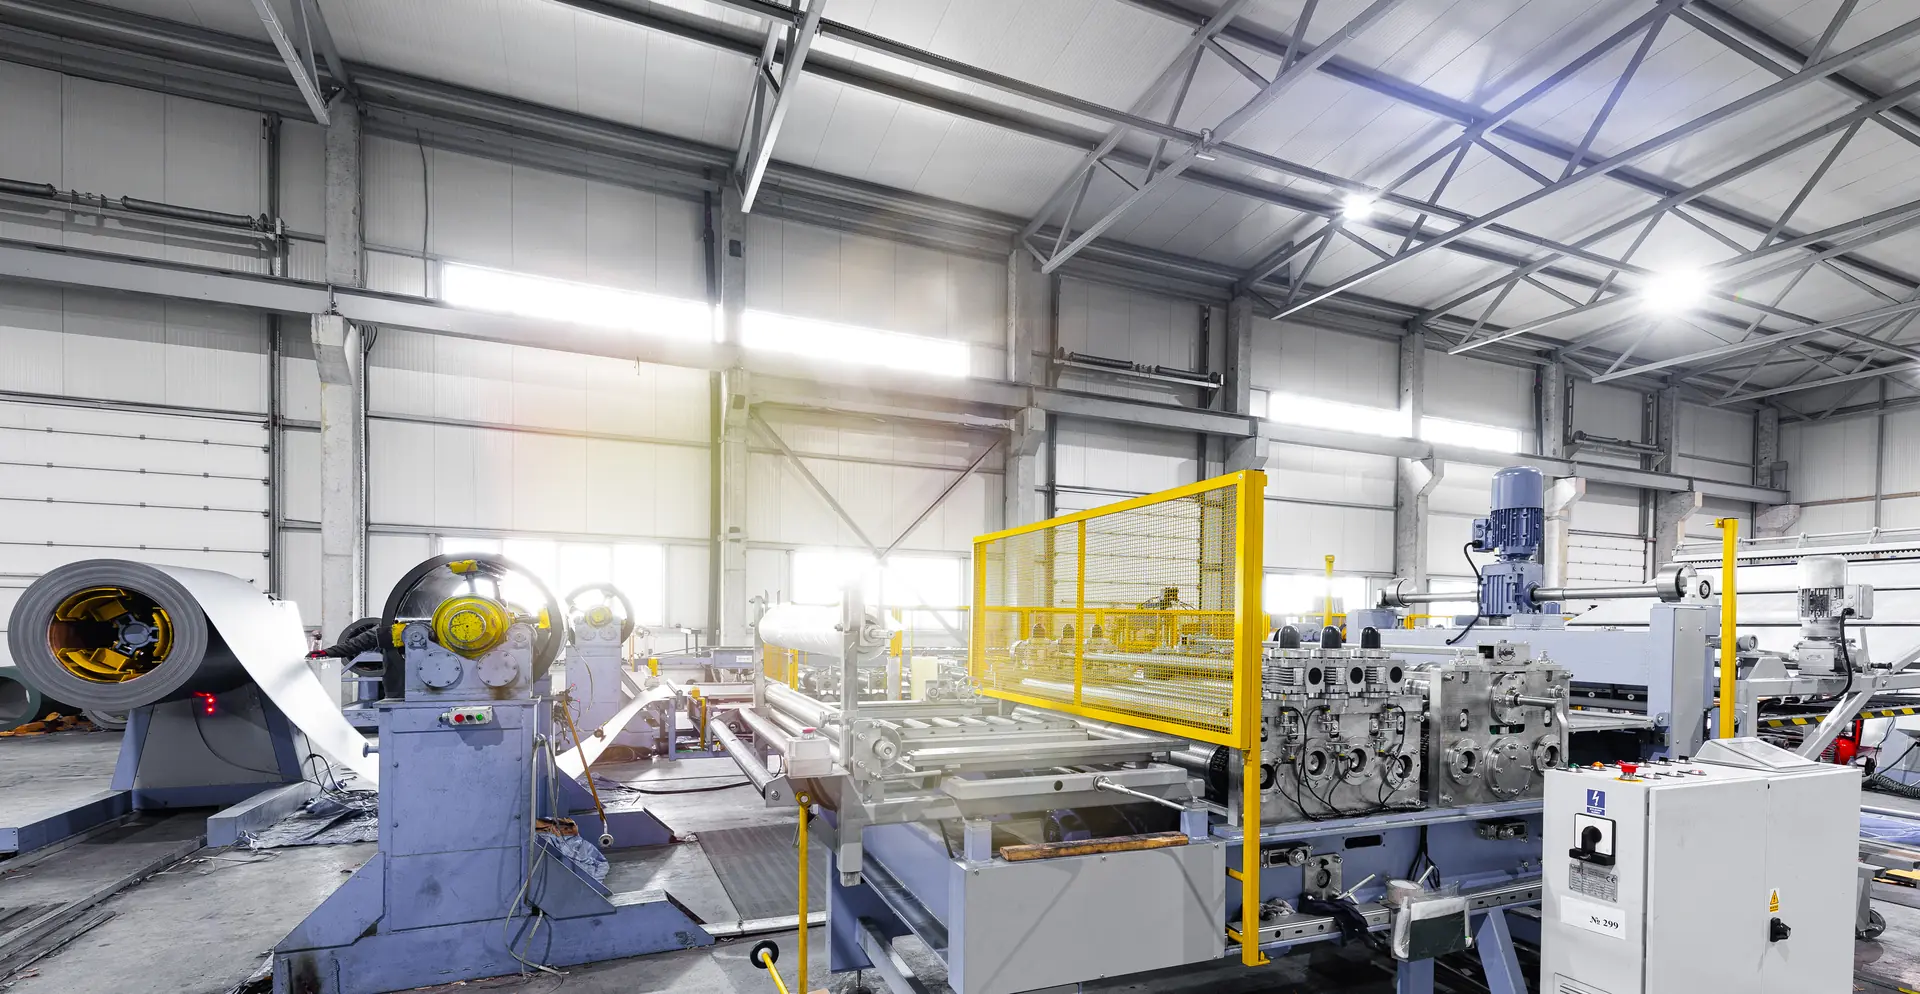
At its core, welding is a metallurgical process. You are fusing two pieces of metal into one continuous, solid piece. For this to happen correctly, you need pure metal-to-metal contact at a molten state. Any foreign material—be it oil, grease, paint, dirt, or even a heavy oxide layer—acts as a barrier and a source of contamination. In my experience, I remember a client in the construction sector who was facing recurring weld failures on a major project. The issue wasn't the welders or the materials; it was an inconsistent pre-cleaning protocol. Once we helped them standardize their surface preparation process, the failure rate dropped to nearly zero. This is a perfect example of how pre-weld cleaning isn't just a best practice; it's a fundamental pillar of quality control.
The Foundation of Weld Integrity
The primary goal of welding stainless steel is to create a joint that is as strong and corrosion-resistant as the parent metal. Contaminants introduce weak points. They can get trapped in the molten weld pool, creating a porous and brittle weld that cannot withstand the design loads. For industries like heavy manufacturing or chemical processing, where structural failure is not an option, the integrity of every single weld is paramount. Proper cleaning ensures that the weld metal can fuse correctly with the base metal, creating the homogenous bond required for maximum strength.
Upholding QA Standards
In any professional setting, work must conform to specific quality assurance standards, such as those from the American Welding Society (AWS) or ISO. These standards explicitly require that surfaces be clean before welding. Adhering to these protocols is not just about compliance; it's about delivering a reliable, safe, and professional product. It demonstrates a commitment to quality that builds trust with clients and ensures the longevity of the final structure.
What issues can arise from not cleaning stainless steel prior to welding?
You see a surface that looks clean to the naked eye and decide to weld. But unseen hydrocarbons and oxides are waiting to ruin your work, causing defects that are expensive to fix.
Failing to clean stainless steel can lead to severe weld defects. These include porosity (gas pockets), incomplete fusion, cracking, and significantly reduced corrosion resistance, all of which compromise the structural integrity and service life of the fabricated part.
The consequences of welding on a dirty surface are not theoretical; they are very real and can be very costly. I once consulted for a food-grade equipment manufacturer in Southeast Asia. They were experiencing rust spots near the welds on their new stainless steel tanks. The problem was traced back to microscopic iron particles left on the surface from a carbon steel wire brush used for "cleaning." This cross-contamination completely compromised the corrosion resistance of the stainless steel. It was a costly lesson in not just if you clean, but how you clean. The entire batch of tanks had to be reworked, causing significant delays and financial loss.
Common Contaminants and Their Consequences
Different contaminants cause different problems. Understanding this link is key to effective troubleshooting and prevention. The presence of these substances directly leads to a weld that will fail inspection and, more importantly, fail in service.
| Contaminant | Common Source | Resulting Weld Defect |
|---|---|---|
| Oil, Grease, Lubricants | Machining, forming, handling | Porosity, Hydrogen Cracking |
| Paint, Markers, Crayons | Layout markings, identification | Carbon inclusion, Embrittlement |
| Oxide Scale, Heat Tint | Hot rolling, previous heat treatment | Incomplete Fusion, Slag Inclusions |
| Dirt, Dust, Moisture | General shop environment | Porosity, Cracking |
The High Cost of Rework
Discovering a defective weld after fabrication, or worse, after installation, is a nightmare scenario. The cost is not just in the labor and materials to grind out the bad weld and re-do it. It includes the cost of project delays, further non-destructive testing (NDT), and potential damage to your company's reputation. Investing a few minutes in proper cleaning upfront saves countless hours and resources down the line. It is one of the highest-return investments you can make in the fabrication process.
How does surface contamination affect the welding process and quality?
The welding arc seems unstable and the final bead looks terrible. You might blame the machine or the gas flow, but the real culprit is often invisible contamination on the steel's surface.
Surface contamination disrupts the stability of the welding arc and introduces foreign elements into the molten weld pool. This triggers adverse chemical reactions, creating a weak, brittle, and visually unacceptable weld that fails to meet any professional quality standard.
The physics and chemistry of the welding arc are a delicate balance. The arc needs a clean, conductive path to remain stable and deliver consistent energy to the workpiece. When contaminants are present, this balance is thrown off completely. I've seen welders struggle with an erratic arc, only to find that a thin, invisible layer of machine oil was the cause. The heat of the arc vaporizes these contaminants, and the resulting gases interfere with the shielding gas, destabilize the arc, and get absorbed into the molten metal. This is where the real damage begins, turning a controlled metallurgical process into an unpredictable chemical reaction.
The Chemistry of a Bad Weld
When you weld, you are creating a tiny, localized foundry. The chemical reactions that happen in that molten pool determine the final quality of the joint.
- Hydrocarbons (Oil & Grease): Under the intense heat of the arc, these organic compounds break down into hydrogen and carbon. The hydrogen gets dissolved in the molten steel and then tries to escape as the metal cools, creating tiny gas bubbles that get trapped, resulting in porosity. The excess carbon can reduce the steel's corrosion resistance and make the weld brittle.
- Oxides: A thick layer of oxide (scale or rust) has a much higher melting point than the steel itself. The welding arc may not be able to melt through it properly, leading to a lack of fusion where the weld metal doesn't bond with the base metal.
From Unstable Arc to Structural Failure
The immediate effect of contamination is a difficult welding process. The welder will notice spatter, an unstable arc, and a weld puddle that is hard to control. But the long-term effects are far more sinister. A weld riddled with porosity is like a sponge—it's full of holes that act as stress concentration points. Under load, cracks can initiate from these pores and propagate, leading to sudden and unexpected structural failure. This is why QA standards are so unforgiving about weld porosity[^1].
What are effective methods for cleaning stainless steel before welding?
You know you need to clean the surface, but which method is right? Using the wrong technique can be ineffective, or worse, it can introduce new contaminants and damage the steel.
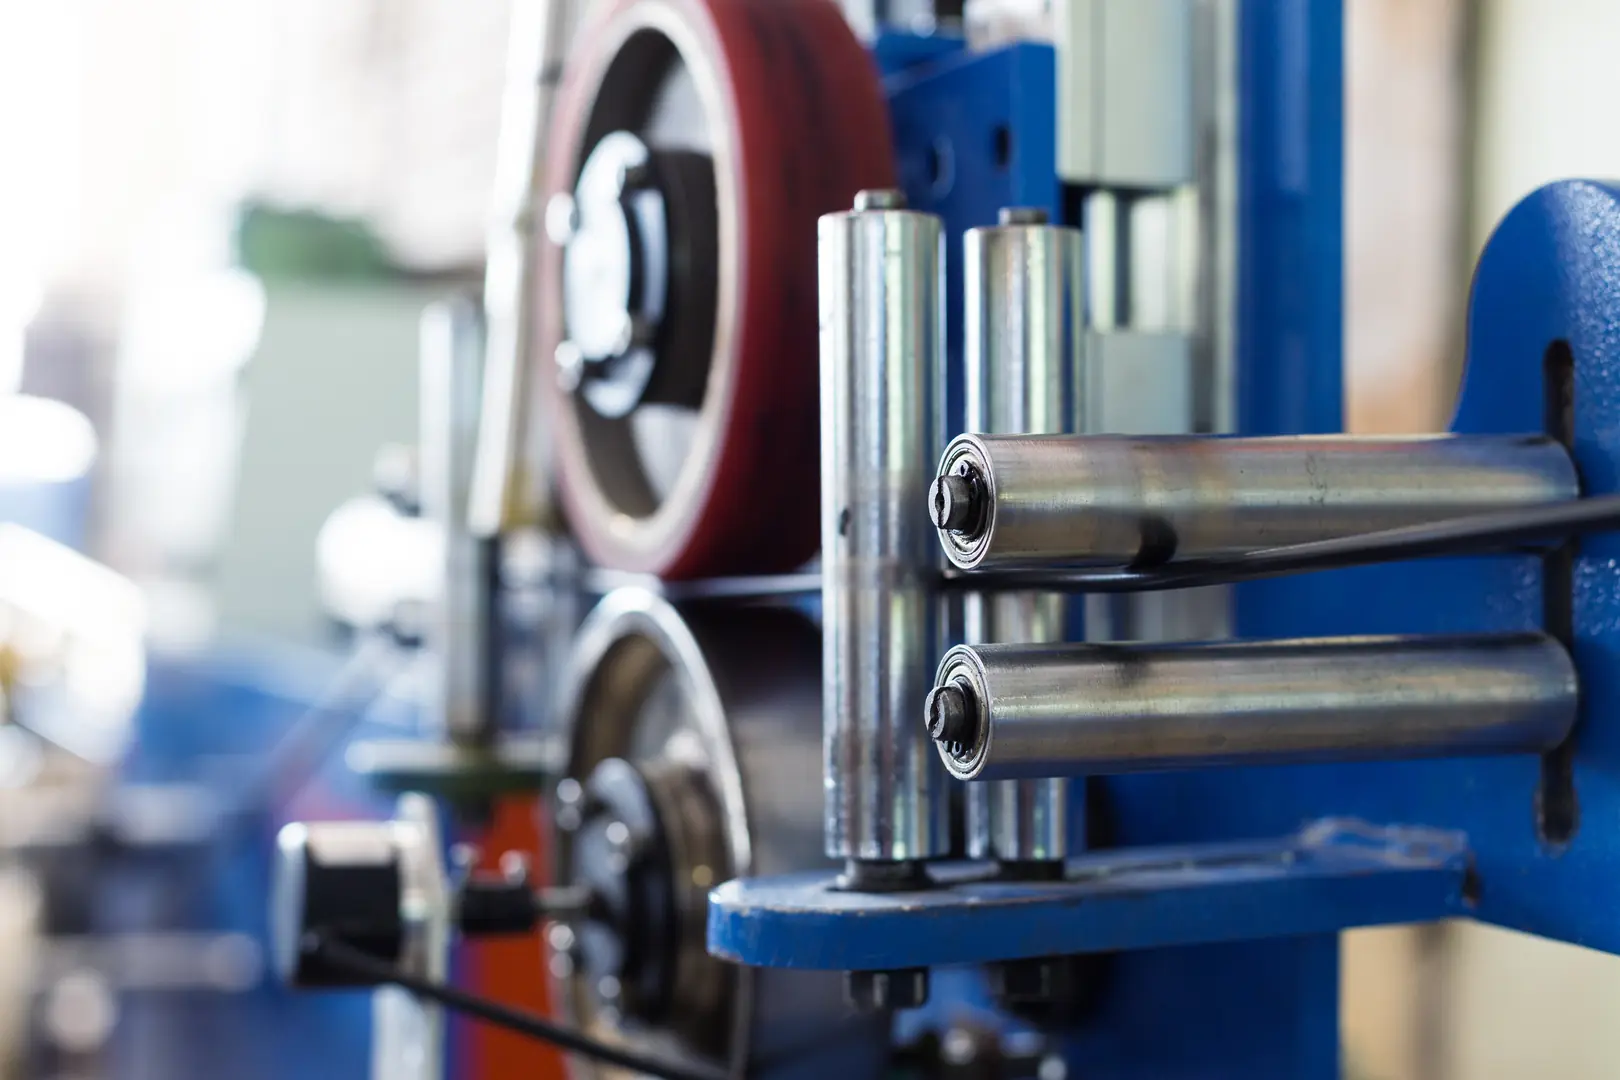
Effective cleaning is a two-step process. First, use a solvent like acetone or a specialized degreaser to remove oils. Second, use mechanical methods like a dedicated stainless steel wire brush or grinder to remove any oxides or scale.
The right cleaning method depends on the type of contamination you're dealing with. There is no single magic bullet. At MFY, we guide our partners to adopt a systematic approach. It’s not about just wiping the surface; it’s about preparing a metallurgically clean surface ready for fusion. This methodical approach ensures consistency and reliability, which are the cornerstones of our business. A simple but effective protocol is the key to repeatable, high-quality results every time.
A Two-Step Cleaning Process
For most applications, a simple two-step process is highly effective. You must perform them in the correct order: solvent first, then mechanical. If you brush first, you risk smearing the grease and embedding it further into the surface.
| Method | Purpose | Best Practices & Tools |
|---|---|---|
| Solvent Cleaning | To remove organic contaminants like oil, grease, paint, and markings. | Use a clean, lint-free cloth with a fast-evaporating solvent like acetone or isopropyl alcohol. |
| Mechanical Cleaning | To remove inorganic contaminants like oxide scale, heat tint, and light rust. | Use a power or hand wire brush with stainless steel bristles. A grinding disc can be used for heavy scale. |
The Golden Rule: Avoid Cross-Contamination
This is perhaps the most critical rule in stainless steel fabrication. The tools you use to clean stainless steel must only be used for stainless steel. Never use a carbon steel brush on stainless steel. The iron particles from the brush will embed in the surface and create rust spots, destroying the material's passive layer and corrosion resistance. Keep your stainless steel tools separate, clean, and clearly marked. It's a simple discipline that prevents a world of problems.
What are the best practices for maintaining stainless steel quality post-welding?
The weld is complete and looks strong, but the job isn't finished. The heat-affected zone and any remaining slag can compromise the joint's long-term durability if not treated correctly.
Post-weld best practices involve thoroughly cleaning the weld to remove slag and heat tint, typically with a stainless steel brush. This is often followed by a chemical treatment like pickling and passivation to fully restore the steel's protective chromium oxide layer.

The work you do after the arc is extinguished is just as important as the work you did before. A finished weld leaves behind byproducts like slag and a discolored area called heat tint. These are not just cosmetic issues; they are active threats to the corrosion resistance of your final product. Ensuring these are properly removed and the surface is restored is the final step in delivering a high-quality, long-lasting stainless steel fabrication. It’s the professional finish that separates top-tier work from the rest.
Addressing Heat Tint and Weld Discoloration
The rainbow-colored or dark grey discoloration you see next to a weld is called heat tint. This is an area where the heat of the welding process has thickened the natural chromium oxide layer on the surface. Unfortunately, this process also draws chromium from the layer just beneath the surface, leaving it depleted and vulnerable to rust and corrosion. Heat tint must be completely removed to ensure the corrosion resistance of the weld area is equal to that of the parent material. This is typically done mechanically with a wire brush or chemically with pickling paste.
The Final Step: Passivation for Long-Term Protection
After all mechanical cleaning and pickling is complete, the final step is often passivation. Passivation is a chemical process that uses a mild acid (like nitric or citric acid) to remove any free iron from the surface and help rapidly rebuild the passive, corrosion-resistant chromium oxide layer. While stainless steel will passivate naturally in the presence of oxygen, this chemical process speeds it up and ensures a more uniform, high-quality protective layer. For components used in corrosive environments, like marine applications or chemical plants, passivation is an essential final step in the quality assurance process.
Conclusion
Pre-weld cleaning isn't an optional task or a corner you can cut. It is a fundamental and non-negotiable step in quality assurance. Proper cleaning ensures the strength, integrity, and corrosion resistance of every weld, safeguarding your project's value and your company's professional reputation.
Have Questions or Need More Information?
Get in touch with us for personalized assistance and expert advice.