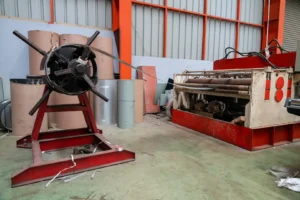
A Step-by-Step Guide to Cleaning Stainless Steel Coiled Tubing
Dirty or contaminated coiled tubing can compromise your entire system. This leads to reduced efficiency, product contamination, and costly downtime. Following a structured cleaning protocol protects your investment and ensures reliability.
A step-by-step guide to cleaning stainless steel coiled tubing involves four key stages: thorough inspection to identify contaminants, selecting the appropriate cleaning solution, executing a systematic cleaning process, and finishing with a proper rinse and dry to prevent residue and ensure optimal performance.
As the Global Business Director at MFY, I've seen firsthand how crucial proper maintenance is for the longevity and performance of stainless steel components. It's not just about aesthetics; it's about preserving the integrity of your operations, whether you're in pharmaceuticals, food processing, or petrochemicals. A simple, repeatable cleaning process is one of the most effective strategies to maximize the return on your material investment. Let's walk through the essential steps to get it right every time.
What Do You Need Before Starting the Cleaning Process?
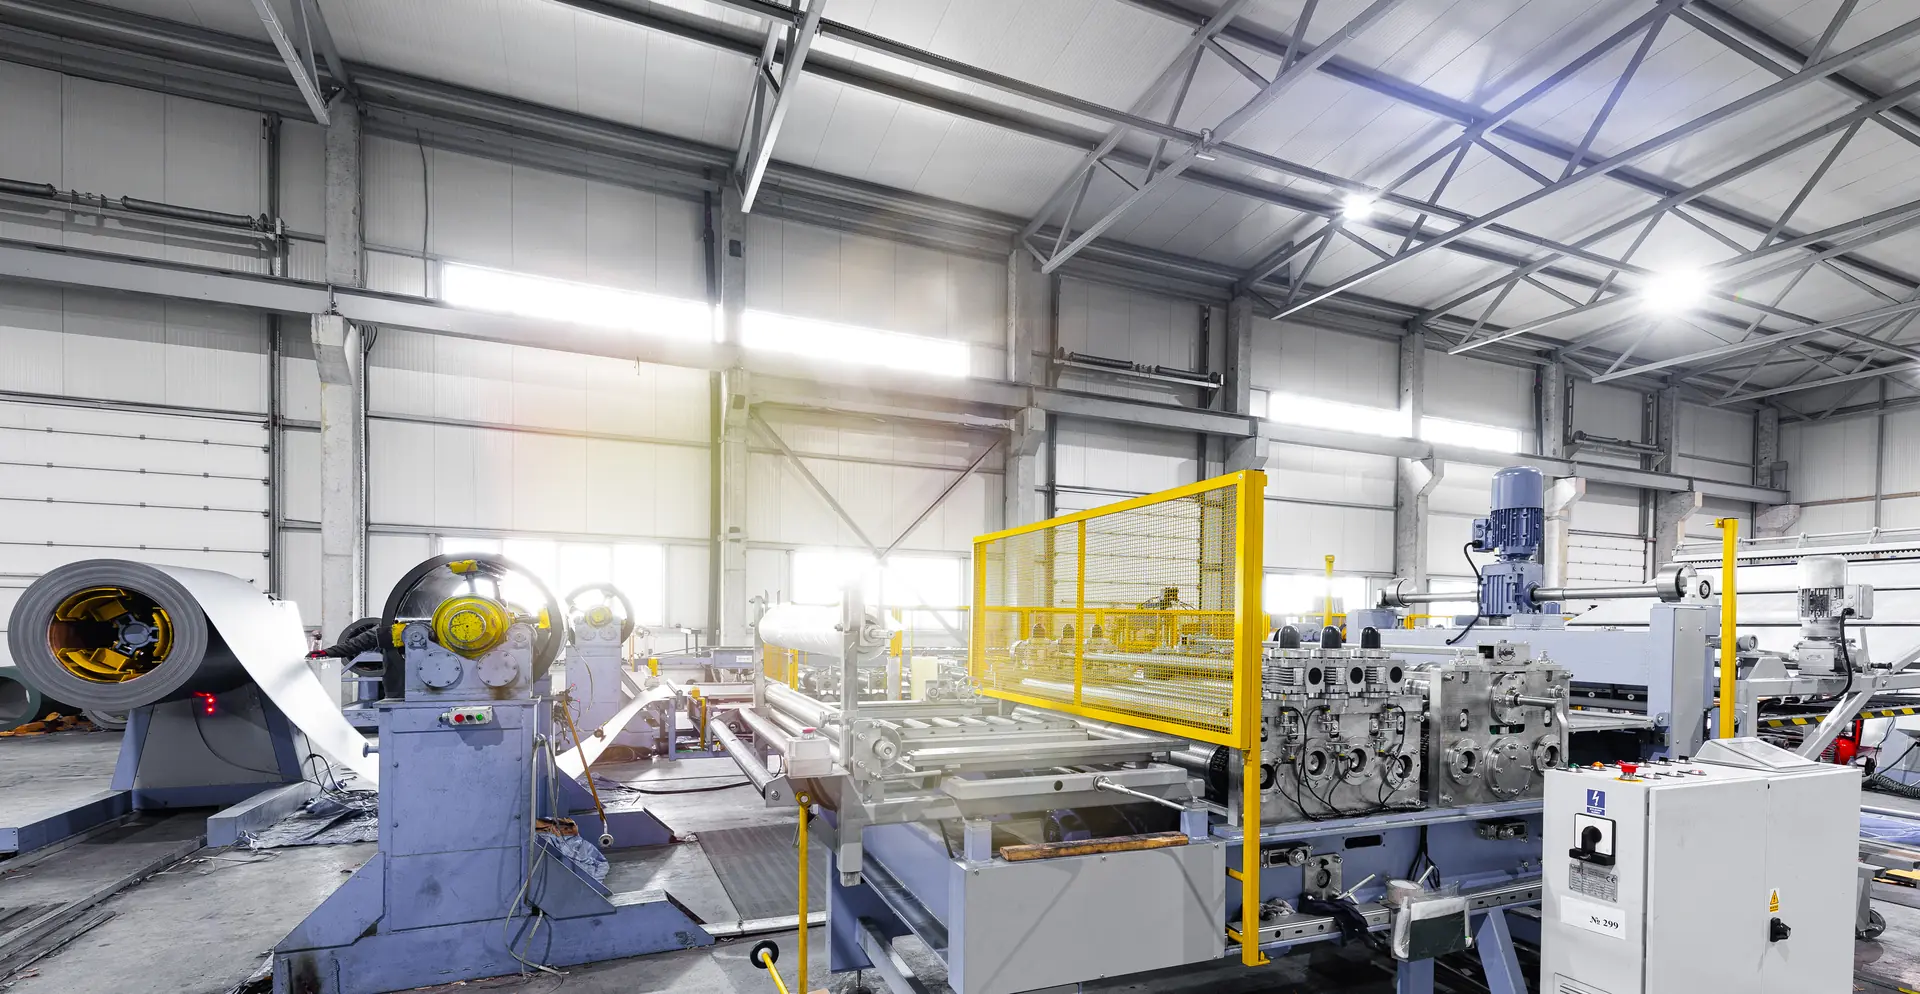
Starting a cleaning job unprepared wastes valuable time. This disorganization can halt the process midway, extending downtime unnecessarily. Gathering all your tools and safety gear beforehand ensures a smooth, efficient workflow.
Before cleaning, you must assemble essential Personal Protective Equipment (PPE) like gloves and goggles, the selected cleaning solutions, appropriate brushes or flushing systems, a clean water source for rinsing, and a method for drying, such as compressed air.
Proper preparation is more than just a preliminary step; it's the foundation of an effective and safe maintenance procedure. At MFY, we advise our partners that minimizing downtime is directly linked to maximizing preparation. I often tell my team that every minute spent getting organized before the job saves ten minutes of frustration during it. This means having a clear, designated area for the work and ensuring every piece of equipment is in good working order. A well-prepared team is an efficient team, and in high-stakes industrial environments, efficiency is paramount.
Safety First: The Non-Negotiables
Your first priority is always personal and environmental safety. This means wearing the correct PPE to protect against chemical splashes or abrasive particles. Depending on the cleaning agents used, this could include chemical-resistant gloves, safety glasses or a face shield, and appropriate protective clothing. Ensure the workspace is well-ventilated, especially when working with solvents or acidic cleaners.
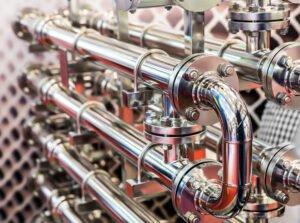
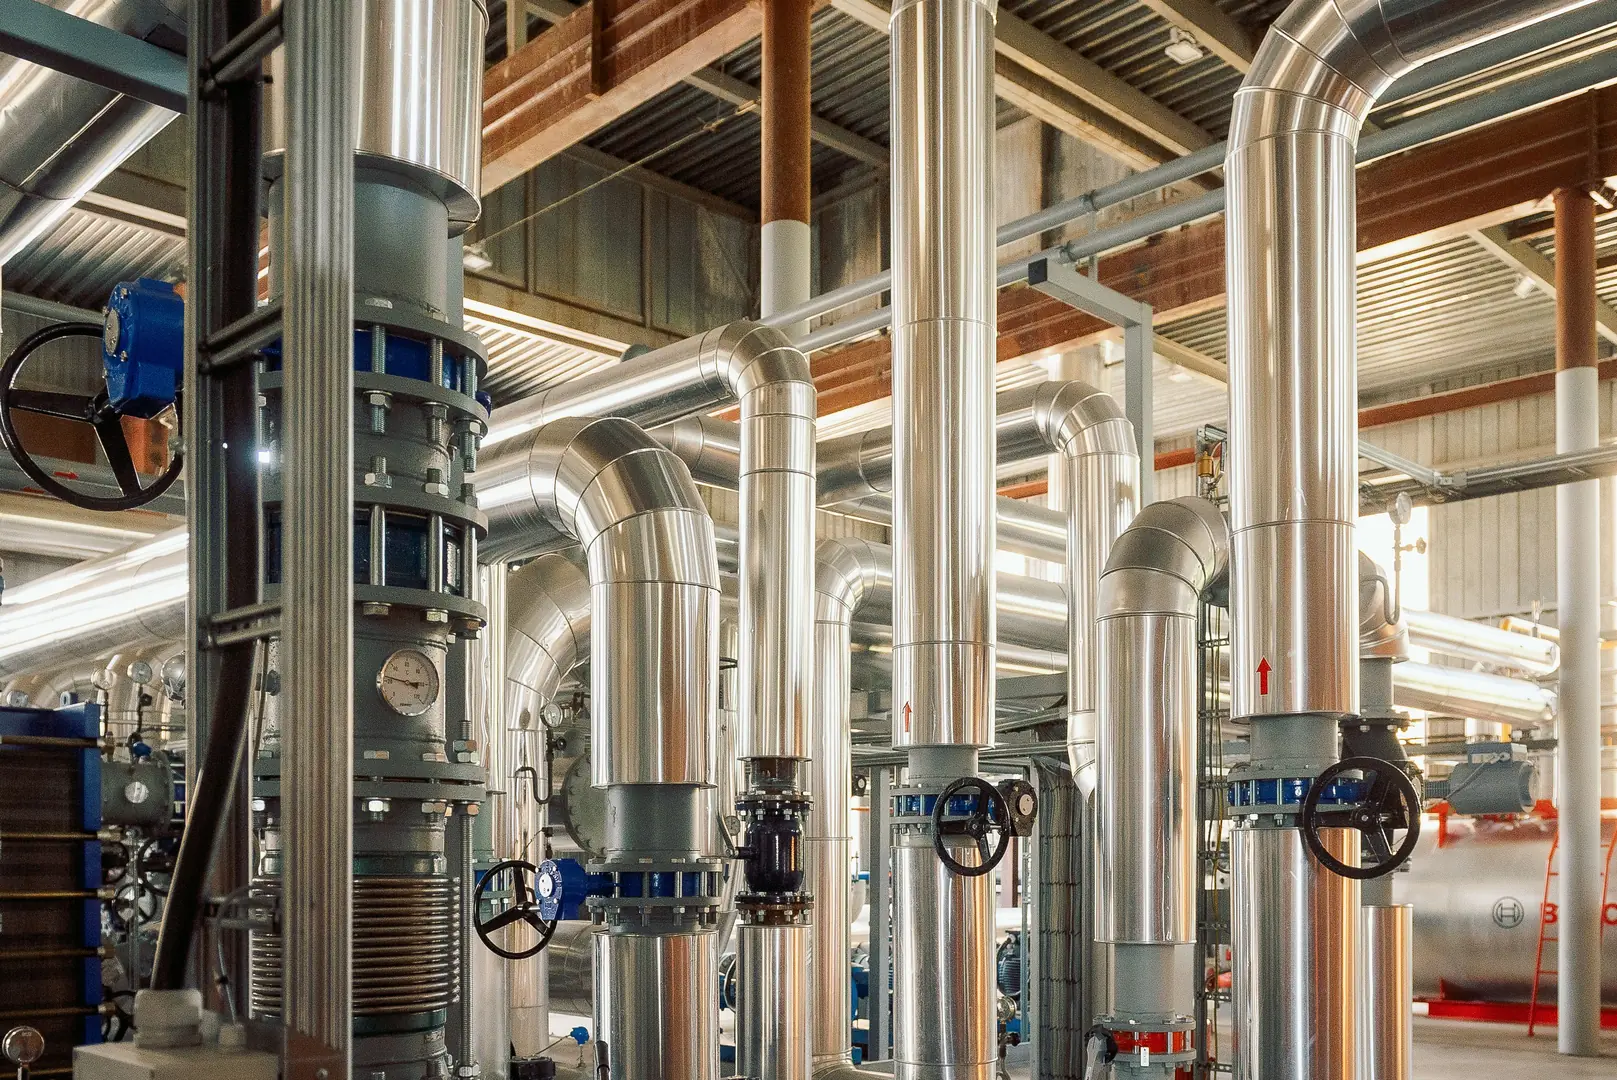
Essential Cleaning Toolkit
Your toolkit will vary based on the tubing's size and the nature of the contamination, but a standard setup should include the following:
| Tool/Material | Назначение |
|---|---|
| Cleaning Solution | Selected based on the type of contaminant (e.g., alkaline, acid). |
| Nylon Brushes | For mechanical scrubbing of the interior surface without scratching. |
| High-Pressure Water/Air Jet | To flush out loose debris and cleaning agents effectively. |
| Clean, Lint-Free Cloths | For wiping down external surfaces and handling clean tubing. |
| Deionized Water | For the final rinse to prevent mineral deposits and water spots. |
Why is Inspecting the Tubing the First Critical Step?
Cleaning tubing without a prior inspection is working blind. You might miss underlying issues like pitting, corrosion, or stubborn blockages. A thorough visual inspection helps you diagnose the exact problem to target.
Inspecting the stainless steel coiled tubing first is critical because it identifies the specific type and severity of contamination—such as organic residue or mineral scale—and reveals any physical damage, which dictates the most effective and safe cleaning strategy.
I remember a client in the food processing industry who was experiencing inconsistent flow rates. They assumed it was a simple blockage and planned a standard chemical flush. However, upon our recommendation, they first performed a borescope inspection[^1]. They discovered not just organic buildup, but also early signs of localized corrosion that a generic cleaning solution would have worsened. This inspection allowed them to use a targeted, less aggressive cleaning method and schedule a replacement before a catastrophic failure occurred. This experience reinforces a core principle we champion: diagnose before you treat. It saves time, money, and prevents minor issues from escalating into major operational failures.
Identifying Contaminants
Look for common types of buildup. Is it a light film of oil from the manufacturing process, hard water scale, or organic residue from the product being transported? The nature of the contaminant will directly influence your choice of cleaning agent.
Checking for Structural Integrity
Beyond cleanliness, check for any signs of physical wear or damage. Pay close attention to:
| Issue to Check For | Potential Cause | Implication for Cleaning |
|---|---|---|
| Pitting/Corrosion | Chemical attack, improper alloy selection | Requires non-abrasive methods; aggressive chemicals may worsen it. |
| Dents or Kinks | Mechanical damage | Can trap debris, making it harder to flush and clean. |
| Discoloration | High-temperature exposure, chemical reaction | Indicates potential changes in the steel's passive layer. |
How Do You Choose the Right Cleaning Solution?
Using the wrong cleaning solution can be disastrous. Harsh or incompatible chemicals can cause irreversible damage like точечная коррозия[^2], effectively ruining the tubing and compromising the entire system's integrity.
To choose the right cleaning solution, you must match the agent to the specific contaminant and the stainless steel grade. Options range from mild alkaline detergents for oils to specific acidic solutions for mineral scales, with eco-friendly solvents gaining prominence.
The conversation around cleaning is shifting. While effectiveness remains key, our clients are increasingly focused on sustainability. This is where MFY’s forward-thinking approach adds value. We're not just supplying steel; we're providing holistic solutions. We actively guide our partners towards new, eco-friendly solvents that are just as effective as traditional chemicals but have a much smaller environmental footprint. This shift towards cleaner production practices isn't just a trend; it's a strategic necessity for modern industry. Choosing a cleaning solution today is about balancing performance, material compatibility, and environmental responsibility.
Matching the Cleaner to the Contaminant
The rule is simple: like dissolves like. Use this table as a general guide:
| Cleaner Type | Best For | Caution |
|---|---|---|
| Alkaline Cleaners | Oils, greases, fats, organic deposits | Can be corrosive to some materials if not rinsed properly. |
| Acidic Cleaners | Mineral scale, rust, hard water deposits | Can cause pitting in stainless steel if left too long or too concentrated. |
| Solvents | Adhesives, heavy grease, specific chemical residues | Often have ventilation requirements and environmental disposal rules. |
| Eco-Friendly Options | General-purpose cleaning, light oils | Check effectiveness for heavy-duty applications. |
The Rise of Sustainable Cleaning
Consider bio-based solvents and pH-neutral cleaners. These products reduce environmental impact without sacrificing performance for many common applications. They are especially valuable in industries like pharmaceuticals and food processing, where minimizing chemical residue is a top priority.
What is the Most Effective Way to Execute the Cleaning?
An inconsistent cleaning technique often leaves behind residue. This incomplete cleaning forces you to repeat the entire process, wasting valuable time, materials, and labor. A systematic approach ensures a thorough job the first time.
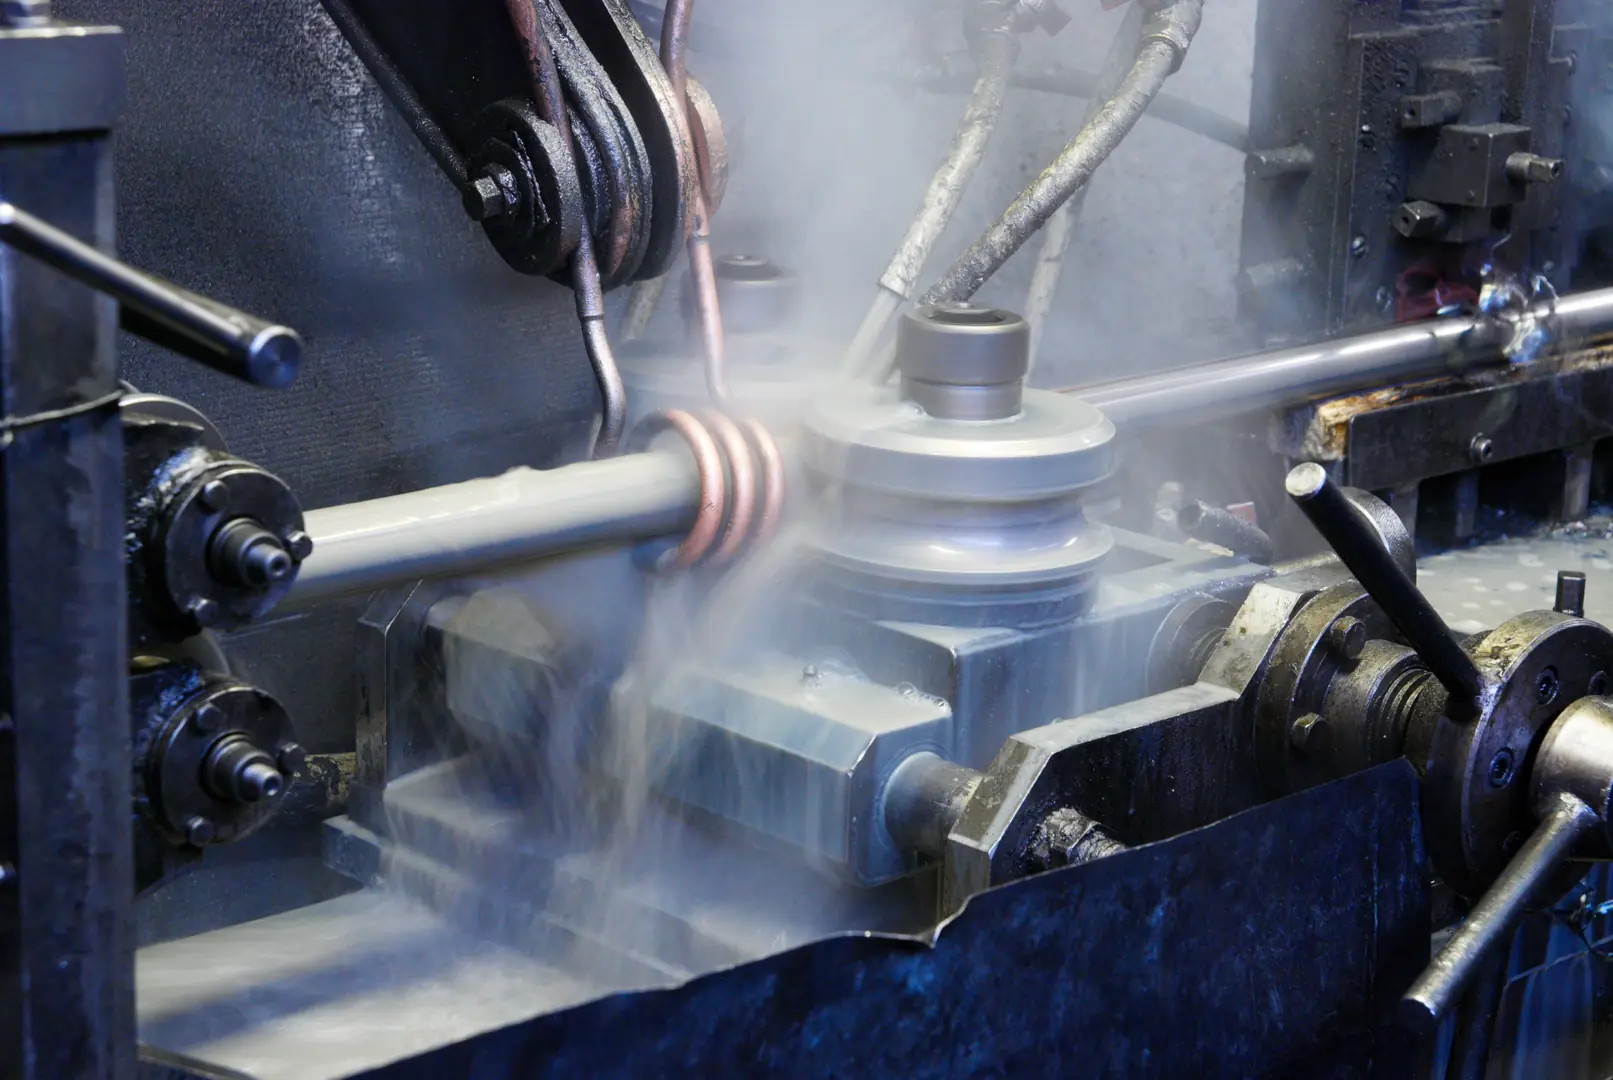
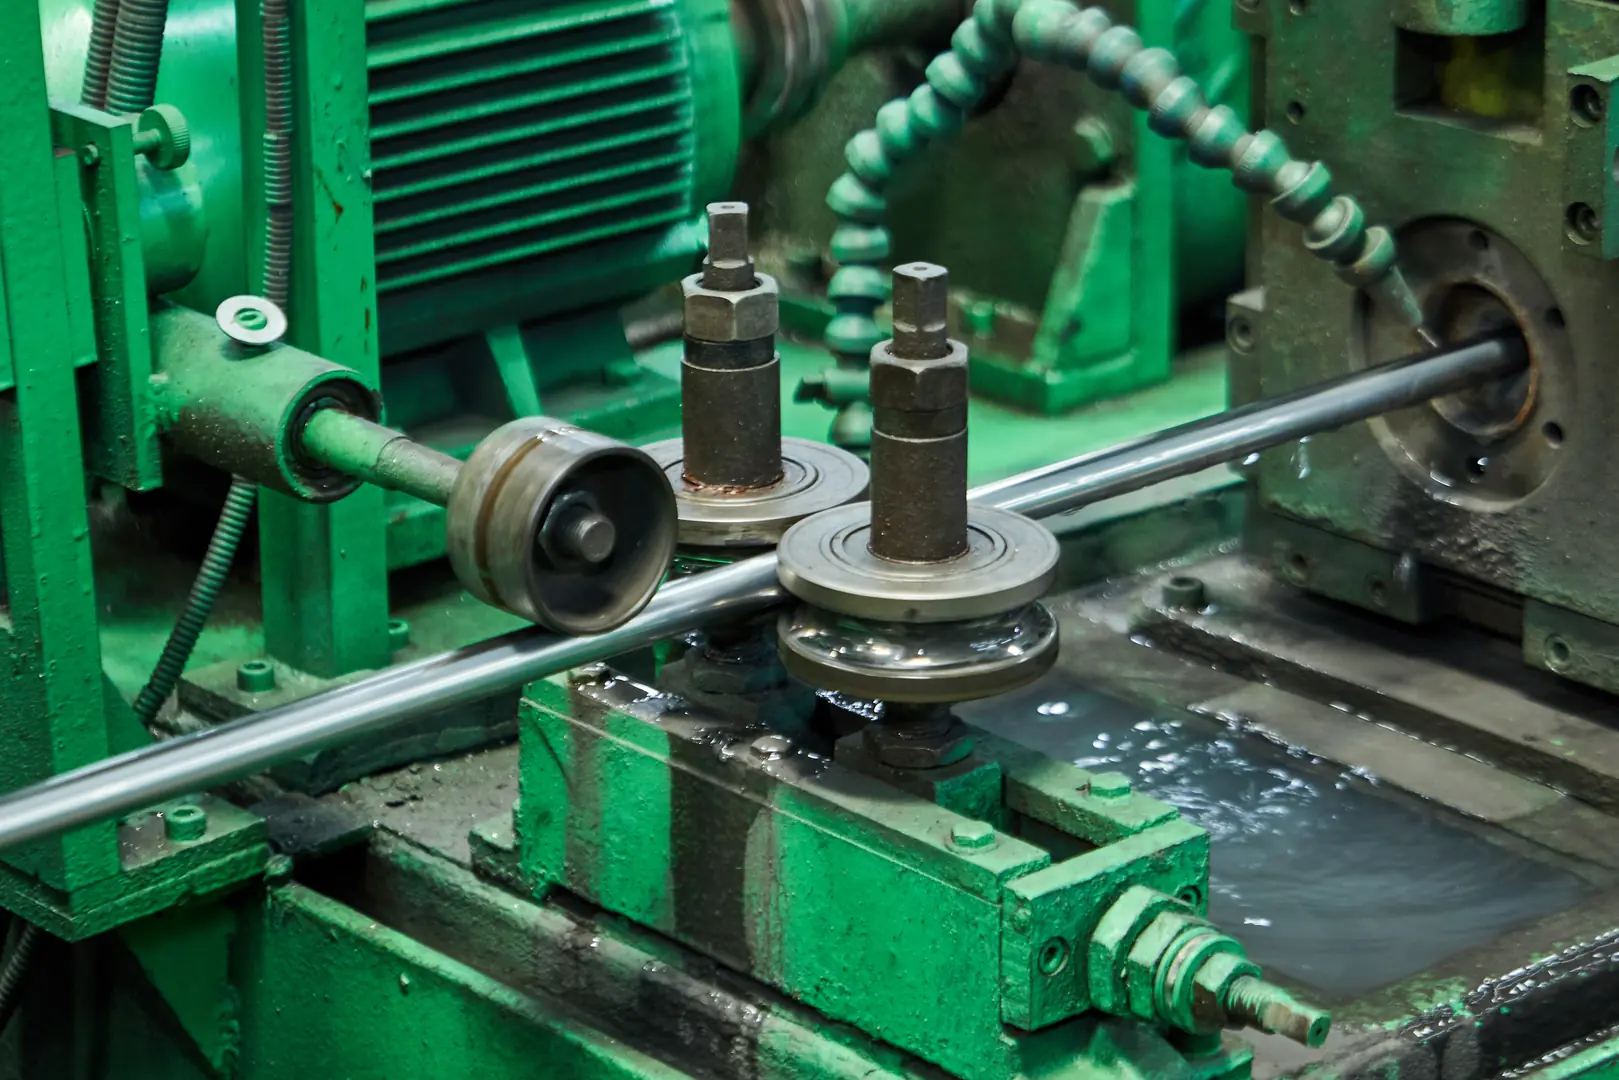
The most effective way to clean is by flushing the tubing with the selected solution, using mechanical action like a soft-bristle brush for stubborn deposits if possible, and allowing sufficient contact time for the chemical agent to work before rinsing.

In high-precision sectors, the standard for "clean" is exceptionally high. For a client in the petrochemical industry, we helped implement an advanced cleaning protocol using ultrasonic baths for smaller, critical tubing components. While a standard flush is sufficient for most applications, ultrasonic cleaning[^3] uses high-frequency sound waves to create microscopic bubbles that dislodge even the most stubborn contaminants from the steel's surface. This method provides an unparalleled level of cleanliness, ensuring the purity of the chemicals they transport and the reliability of their sensitive equipment. It's a perfect example of how integrating advanced technology aligns with the evolving needs of industry for greater precision and efficiency.
The Standard Flushing Method
For most applications, a circulation flush is highly effective. This involves creating a closed loop where the cleaning solution is pumped through the coiled tubing for a predetermined period. This ensures the entire interior surface is exposed to the cleaning agent. For best results, start with a lower pressure to dislodge loose debris, then increase as needed.
Advanced Cleaning Technologies
For applications demanding the highest level of purity, consider more advanced methods. Ultrasonic cleaning is excellent for removing microscopic particles. For larger systems, "pigging[^4]" – forcing a tight-fitting projectile (the "pig") through the tubing – can be used to mechanically scrape the interior walls clean, followed by a chemical flush.
How Can You Ensure Proper Rinsing and Drying?
Leaving cleaning residue behind is as detrimental as the original dirt. Lingering chemicals can initiate corrosion or contaminate your final product, defeating the purpose of cleaning. A final, thorough rinse and dry are non-negotiable.
To ensure proper cleaning, rinse the tubing thoroughly with deionized water to remove all chemical agents. Follow this by drying completely with filtered, oil-free compressed air to prevent water spots, microbial growth, and re-contamination before storage or use.
The final step is often the most overlooked, yet it's what locks in the benefits of the entire process. A clean and dry surface allows the chromium oxide passive layer[^5]—stainless steel's natural defense against corrosion—to reform properly in the presence of oxygen. I always emphasize to our clients that the job isn't finished until the tubing is bone-dry. This final attention to detail is what separates adequate maintenance from excellent maintenance. It’s this commitment to quality at every stage that ensures the long-term reliability and performance of the stainless steel components we supply.
The Critical Rinsing Stage
After the cleaning solution has done its job, it must be completely removed. A multi-stage rinse is often best, starting with tap water and finishing with deionized (DI) or distilled water. DI water is free of minerals that can leave spots or deposits on the clean surface as the tubing dries. Continue rinsing until the pH of the water leaving the tube matches the pH of the water entering it.
Achieving a Bone-Dry Finish
Moisture is an enemy of clean steel. Any remaining water can lead to spotting or, in unsealed environments, create a breeding ground for bacteria. The most effective drying method is to blow high-volume, filtered, and oil-free compressed air through the tubing until no moisture remains. For highly sensitive applications, a nitrogen purge may be used to displace all oxygen and moisture.
Заключение
A systematic cleaning protocol is not just a maintenance task; it's a strategic investment. By following these steps, you safeguard your equipment, ensure operational efficiency, and extend the service life of your stainless steel coiled tubing, directly impacting your bottom line.
У вас есть вопросы или нужна дополнительная информация?
Свяжитесь с нами, чтобы получить индивидуальную помощь и квалифицированный совет.