How to Clean Stainless Steel Coiled Tubing: Essential Methods and Tips
Contaminated tubing compromises operations and leads to costly downtime. A systematic cleaning process is essential for maintaining integrity and ensuring reliability in critical industrial applications.
To clean stainless steel coiled tubing, first assess its condition. Then, use appropriate non-abrasive cleaners and tools, apply the solution correctly, rinse thoroughly, dry completely, and implement a regular inspection and maintenance schedule. This process ensures optimal performance and prevents corrosion.
As the Global Business Director at MFY, I've seen firsthand how the small details of maintenance can have a massive impact on a company's bottom line. Cleaning stainless steel coiled tubing isn't just about making it look good; it's a critical procedure that protects your investment, ensures safety, and maintains operational efficiency. Let's walk through the essential steps to do this correctly, moving beyond simple instructions to understand the strategic value behind each action.
Why is Assessing the Tubing's Condition the First Critical Step?
Using the wrong cleaning method can be ineffective or even damage the tubing. A thorough initial assessment dictates the correct and safest approach for your specific situation.
Assessing the tubing's condition is crucial because it helps identify the type and severity of contamination. This allows you to select the most effective and safest cleaning method, preventing damage and ensuring a successful outcome.
Before you reach for any cleaning agent, you must first become a detective. A proper assessment is the foundation of an effective cleaning strategy. I remember a client in the food processing industry who nearly compromised an entire production batch because they used an acidic cleaner on tubing that only had light organic residue. A simple visual inspection would have told them a mild alkaline detergent was all they needed. This initial step isn't about adding time; it's about preventing costly mistakes and ensuring the method matches the problem.
Visual and Contaminant Analysis
Start with a simple visual inspection. Look for obvious signs of trouble like discoloration, rust spots (which indicates contamination, as stainless steel itself doesn't rust), scale buildup, or oily films. Then, you need to understand what you're dealing with. Contaminants fall into two broad categories: organic and inorganic. Knowing the difference is key to choosing the right solution.
| Contaminant Type | Examples | Recommended Initial Approach |
|---|---|---|
| Organic | Oils, grease, fingerprints, biological films | Mild detergents, alkaline cleaners |
| Inorganic | Scale, mineral deposits, light rust stains | Mild acidic cleaners, chelating agents |
| Mixed | Combination of organic and inorganic | Two-step cleaning process or specialized formula |
The Strategic Importance of Assessment
In high-stakes industries like pharmaceuticals or oil and gas, a mistake here can have serious consequences. Assessing the tubing's integrity ensures you don't use a pressure or chemical that could exacerbate a hidden flaw. It’s the first step in a quality assurance process that protects not just the tubing, but the entire operation it supports.
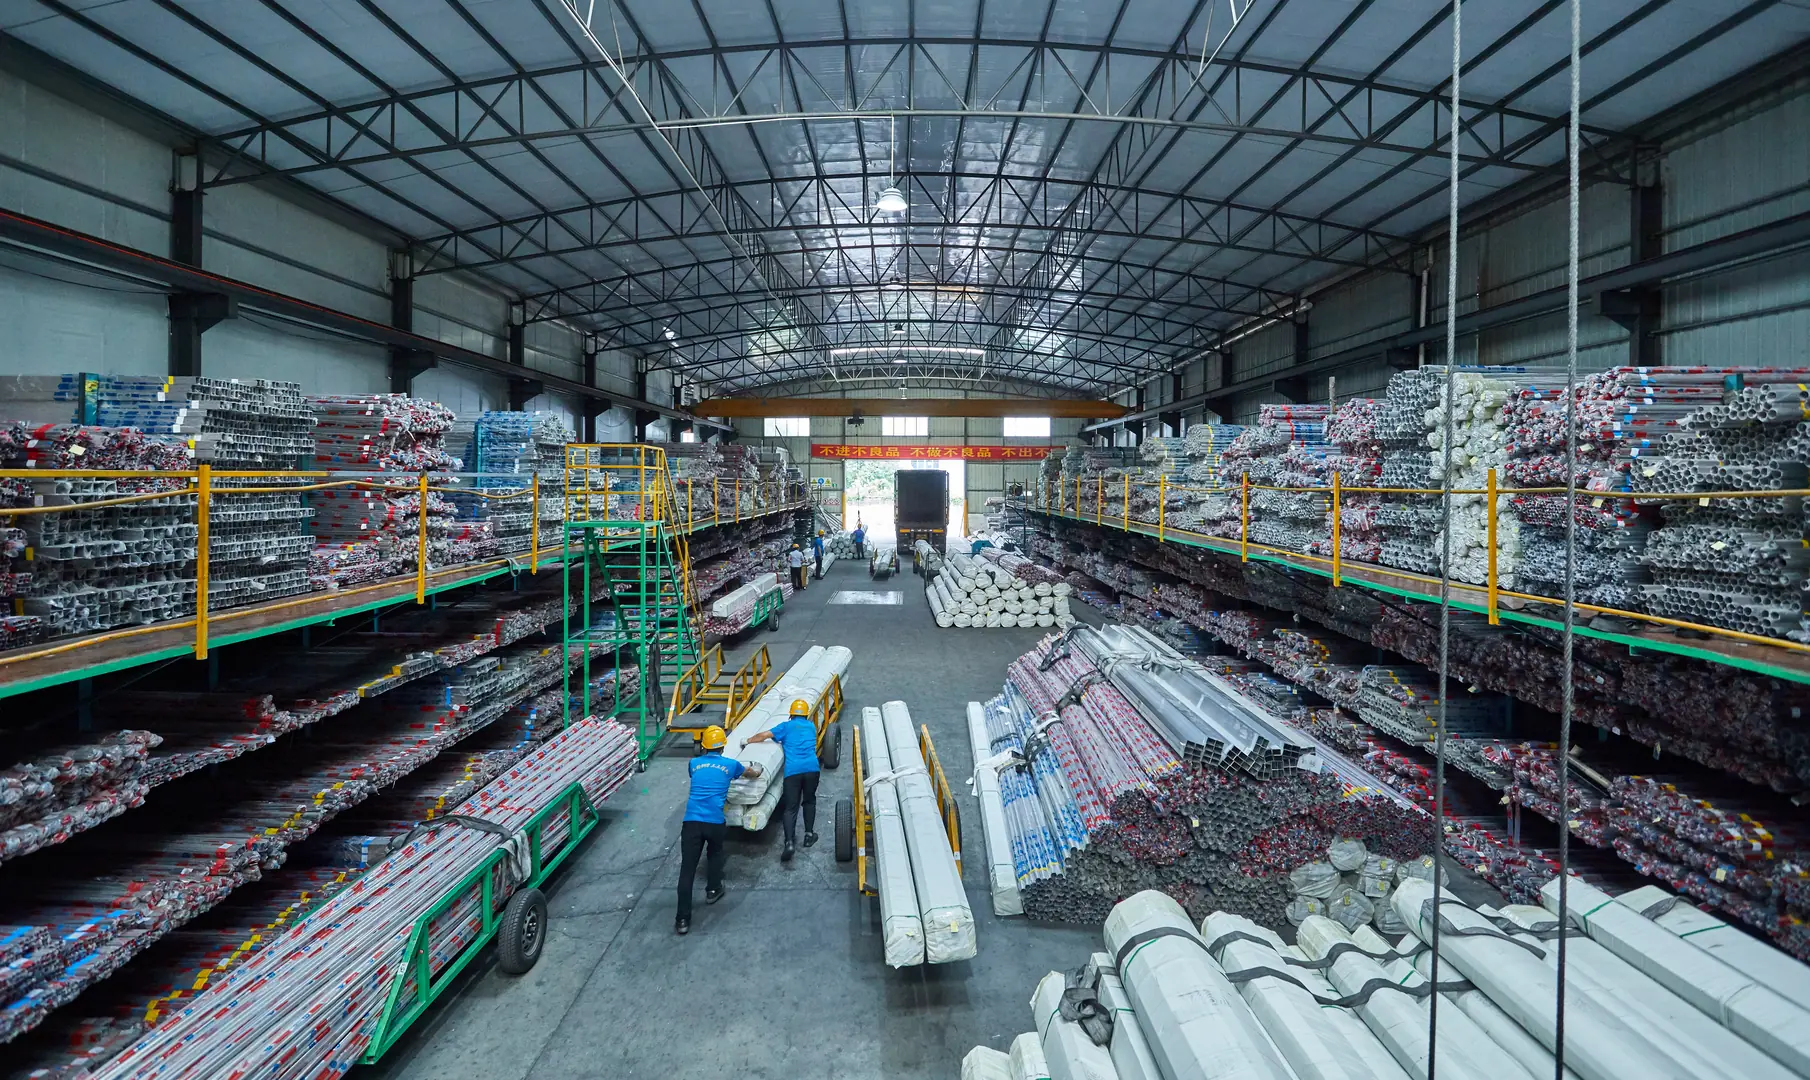
What Are the Essential Materials and Tools for Cleaning Coiled Tubing?
Lacking the right tools leads to inefficient, ineffective, or unsafe cleaning. Gathering all the correct materials and equipment beforehand ensures a smooth and successful process.
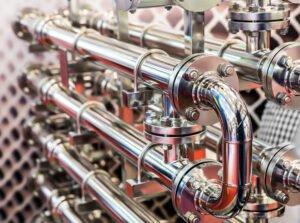
Essential materials include personal protective equipment (PPE), soft cloths or non-abrasive brushes, and appropriate cleaning solutions. Tools may involve flushing systems, pressure washers, or ultrasonic cleaners, depending on the application and level of contamination.
Once you know what you're cleaning, it's time to assemble your toolkit. At MFY, we advise our partners to invest in quality tools because this isn't just about cleaning; it's about protecting a valuable asset. Using the wrong brush or a harsh chemical can cause microscopic scratches on the steel's passive layer[^1], opening the door for future corrosion. Preparing properly is half the battle won.
The Right Tools for the Job
Your choice of tools depends entirely on the tubing's application and the nature of the contamination you identified.
- Personal Protective Equipment (PPE): This is non-negotiable. Safety glasses, gloves, and appropriate clothing protect your team from chemical splashes and other hazards.
- Cleaning Agents: Choose wisely. For general cleaning, a simple solution of mild detergent and warm water works well. For tougher jobs, you might need alkaline cleaners for organic soils or a mild citric or nitric acid solution for inorganic scale. We are seeing a major shift toward eco-friendly, biodegradable solutions that are just as effective but have a smaller environmental footprint. This aligns with modern corporate sustainability goals and is something we champion.
- Application Tools: This can range from simple soft, lint-free cloths and nylon brushes for manual exterior cleaning to more advanced systems. For internal cleaning, a pump or flushing rig is necessary. For the highest level of cleanliness, ultrasonic cleaning baths offer incredible results by using high-frequency sound waves to dislodge even the most stubborn contaminants without any abrasive action.
What is the Correct Way to Apply Cleaning Solutions to the Tubing?
Incorrect application of cleaners can cause corrosion, leave behind harmful residue, or simply fail to clean effectively. Following proper techniques ensures a deep, safe, and complete clean.
Apply cleaning solutions by either flushing them through the tubing's interior or wiping the exterior with a soft cloth. Always follow the manufacturer's instructions for concentration and contact time. Avoid harsh, abrasive scrubbing that can scratch the passive layer.

This is where technique truly matters. The goal is to allow the cleaning agent to do its work without causing any harm to the stainless steel. The most important rule is to respect the material. Stainless steel's corrosion resistance comes from a very thin, invisible passive layer of chromium oxide on its surface. Your cleaning method must protect this layer at all costs.
Internal vs. External Application
The approach differs depending on whether you're cleaning the inside or outside of the tubing.
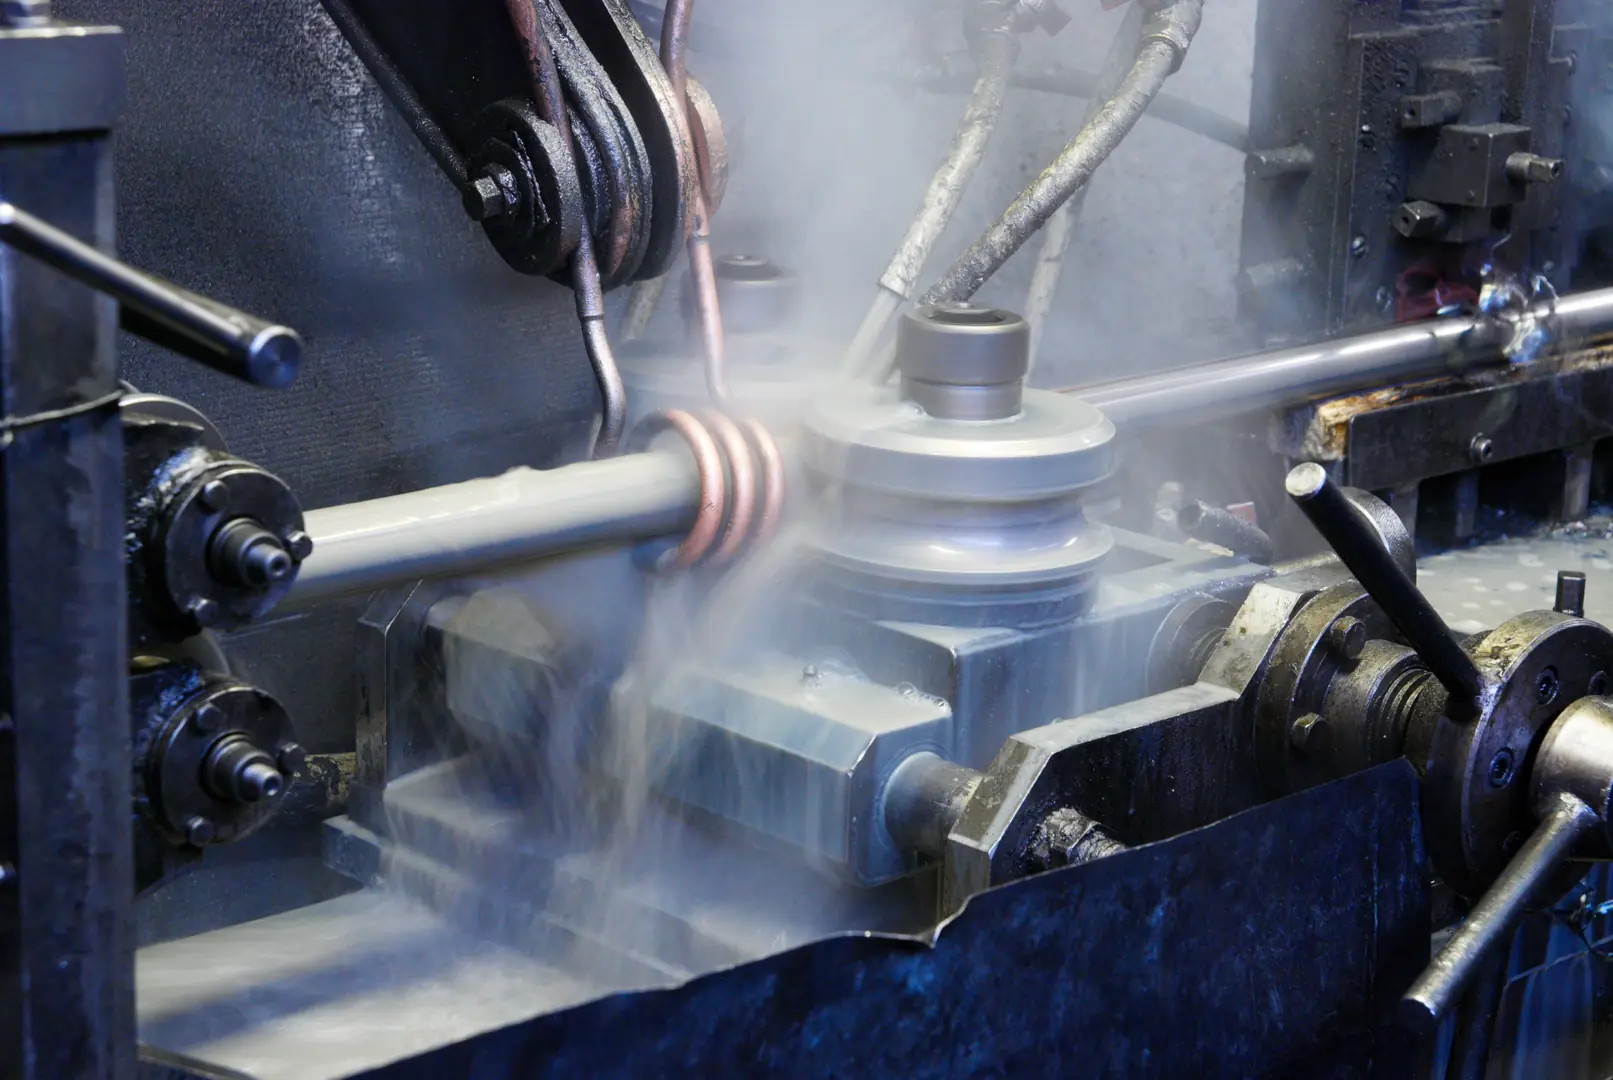
- Internal Flushing: For the interior, you need to ensure the cleaning solution makes contact with the entire surface. This is typically done by circulating the fluid through the coil using a pump. It's important to control the flow rate to create enough turbulence to help dislodge contaminants but not so much that it creates excessive pressure.
- External Cleaning: For the exterior, always wipe in the direction of the steel's grain or finish. Use a soft cloth or a nylon brush. Never use steel wool or abrasive pads, as they will shed iron particles that can contaminate the surface and lead to rust.
The Critical Factors: Time, Temperature, and Concentration
Every chemical cleaner works best under specific conditions. Always read the manufacturer's data sheet. Leaving a cleaner on for too long, especially an acidic one, can cause etching. Using a solution that is too concentrated can be just as damaging. Similarly, temperature can significantly boost a cleaner's effectiveness, so using warm (but not boiling) water is often recommended.
Why is Rinsing and Drying the Tubing So Important?
Leaving cleaning residue or moisture behind can lead to new problems like contamination or точечная коррозия[^2]. A thorough rinse and dry cycle is a non-negotiable final step in the cleaning phase.
Thorough rinsing is vital to remove all traces of cleaning agents, which can be corrosive if left on the surface. Proper drying prevents water spots and the formation of new corrosion, ensuring the tubing is completely clean and ready for use.
You might think the job is done once the dirt is gone, but the rinsing and drying stages are just as critical. I've seen perfectly cleaned tubing develop surface rust within weeks simply because it was rinsed with hard water and left to air dry. This isn't just a step; it's a critical quality control point that ensures the tubing is truly ready for service.
The Rinsing and Drying Protocol
This two-part process neutralizes and removes any remaining chemicals and moisture.
-
The Rinsing Process: The goal here is to completely flush away any residual cleaning solution. For most applications, clean, potable water is sufficient. However, for high-purity applications like in the pharmaceutical or semiconductor industries, using deionized or distilled water is essential. This prevents minerals and chlorides present in tap water from depositing on the surface and becoming potential sites for corrosion. Rinse until the water running off the tubing is completely clean and free of any foam or residue.
-
Effective Drying Methods: Moisture is an enemy of clean steel. Water spots are not only unsightly but can also be concentration points for chlorides, leading to pitting corrosion. For the exterior, wipe it dry with a clean, lint-free cloth. For the interior of coiled tubing, this is more challenging. The most effective method is to purge the inside with clean, dry, compressed air or, for an even better result, nitrogen. This forces all moisture out and leaves the interior completely dry and inert.
How Can You Ensure Long-Term Performance Through Inspection and Maintenance?
Treating cleaning as a one-time fix is a mistake, as contamination will inevitably return without a plan. A proactive inspection and maintenance schedule is key to preserving the tubing's integrity.
Ensure long-term performance by conducting a final post-cleaning inspection to confirm cleanliness. Then, establish a regular cleaning and maintenance schedule based on the tubing's application and environment. Proper storage in a clean, dry area is also essential.

The final step is to shift your mindset from a reactive to a proactive one. The work you've just done should be the start of a continuous cycle of care. At MFY, we see maintenance not as a cost, but as a strategic investment in operational uptime and asset longevity. A well-maintained supply chain is a resilient and profitable one. This final phase is about formalizing your process to ensure your stainless steel assets deliver value for years to come.
Building a Sustainable Maintenance Program
A robust program has three core components:
- Post-Cleaning Inspection: Before returning the tubing to service or placing it in storage, perform one last visual inspection. Use a good light source, and if necessary, a borescope for the interior, to ensure all contaminants and cleaning residues have been removed.
- Developing a Maintenance Schedule: This shouldn't be based on guesswork. The frequency of cleaning depends on the service environment. Tubing used in a corrosive chemical process will need more frequent attention than tubing carrying potable water. Document this schedule and assign responsibility.
- Proper Storage: If the tubing is not being put back into service immediately, store it correctly. It should be kept in a clean, dry, and inert environment, away from any carbon steel or industrial contaminants. Capping the ends of the tubing is a simple but effective way to keep the interior pristine.
Заключение
Properly cleaning stainless steel coiled tubing is not just maintenance; it's a strategic process. By following these steps—from assessment to a final maintenance plan—you protect your assets, ensure operational reliability, and enhance safety, giving your business a tangible competitive edge in a demanding market.
У вас есть вопросы или нужна дополнительная информация?
Свяжитесь с нами, чтобы получить индивидуальную помощь и квалифицированный совет.