Reading a Mill Test Report (MTR): 5 Checks Buyers Must Do
Are you confident you can spot a discrepancy or even a forgery in a Mill Test Report? Many buyers feel a sense of unease, knowing that a single unchecked detail could lead to catastrophic project failures, safety hazards, and severe financial repercussions. This guide provides a clear, systematic approach.
A Mill Test Report (MTR), or mill sheet, is a quality assurance document issued by a material manufacturer that certifies its chemical and physical properties. To read it properly, a buyer must meticulously check the manufacturer's details, material grade, specifications, chemical analysis, mechanical properties, and heat number for traceability.
In my years as Global Business Director at MFY, I’ve seen how this single document can be the dividing line between project success and failure. A detailed MTR is not just paperwork; it’s the bedrock of trust in your supply chain. We’ve built our reputation on transparency, and I want to walk you through the same rigorous checks our own quality teams perform, ensuring you can procure with the same level of confidence.
The Mill Test Report is more than a certificate of compliance; it has evolved into a cornerstone of modern risk management in global trade. In an era of complex supply chains, the MTR acts as a material's passport, verifying its origin and quality. Ignoring its details is not just a compliance risk; it's a significant business risk. For instance, data from the construction sector indicates that using non-compliant steel can inflate project costs by up to 15% due to rework and potential structural failures. At MFY, we leverage digital MTRs integrated into our ERP system1, allowing clients like manufacturing firms and engineering contractors to instantly verify data, ensuring the materials they receive, such as our stainless steel pipes, precisely match their engineering requirements and meet international standards like ASTM and EN. This digital-first approach minimizes ambiguity and builds a resilient supply chain.
Step 1: Verify the manufacturer's details on the MTR
Feeling uncertain about the legitimacy of a supplier's paperwork? It's a common problem. Accepting a document at face value exposes your project to the risk of counterfeit materials, which can lead to disastrous outcomes. The solution begins with a simple, foundational check: scrutinizing the manufacturer's details.
To verify the manufacturer's details on a Mill Test Report, you must cross-reference the full legal name, physical mill address, and official logo against the company's official website, public business registries, and any prior documentation. This initial step is critical for validating the document's authenticity from the start.
This first check is your gatekeeper against fraud. It may seem basic, but I’ve personally guided clients who have caught major issues here. I recall a case with an engineering contractor in India, a new client of ours, who was evaluating a local stockist. The MTR they received listed a manufacturer with a name very similar to a reputable European mill, but the address was just a post office box. This was an immediate red flag. We advised them to dig deeper, and it turned out the material was from an unknown, uncertified workshop. They switched their procurement to us, and we provided them with our stainless steel tubes, complete with MFY’s fully verifiable MTR that linked directly to our production facility in China. This simple check saved their project from using substandard materials that would have surely failed under pressure testing, jeopardizing the integrity of a critical water pipeline project. It’s a powerful lesson in why due diligence starts with the basics, setting a precedent for the quality and integrity of your entire project. This initial verification isn't just about ticking a box; it's about establishing a chain of trust that runs from the mill to your job site.
This fundamental step of verifying the source is non-negotiable in today's global market, where counterfeit materials are a growing concern. The World Steel Association2 has noted that the circulation of uncertified or falsely certified steel products poses a significant threat to infrastructure safety and economic stability. Your MTR verification process is the first line of defense. It’s a systematic process of confirming that the entity that produced your material is who they claim to be and that they are a legitimate, recognized manufacturer with a history of producing quality products. This process goes beyond a cursory glance at the header of the document; it involves active investigation and cross-referencing, a skill that every procurement manager must master to protect their company’s interests. The consequences of skipping this step can be severe, ranging from immediate financial loss to long-term reputational damage and legal liability.
The Anatomy of Manufacturer Identification
When you first receive an MTR, your eyes should immediately go to the top section identifying the manufacturer. Look for the complete legal name of the company, not an abbreviation or a trading name. For example, our MTRs clearly state our full company name, as registered. Next, locate the physical address of the mill where the material was actually produced. Be wary of P.O. boxes or corporate headquarters addresses that are different from the manufacturing site, as this can sometimes be a tactic to obscure the true origin. A legitimate MTR will always pinpoint the specific plant.
The logo is another critical element. It should be a high-resolution, official logo, not a blurry or distorted image that looks like it was copied and pasted. I once helped a client in Southeast Asia who received an MTR with a logo that was slightly different in color from the one on the manufacturer’s website. This tiny detail prompted a call to the manufacturer, which revealed the MTR was a forgery. It’s these small details that often expose the biggest frauds.
Finally, check for contact information like a phone number or website. These details provide another avenue for verification. A genuine manufacturer will have easily accessible and verifiable contact points. If the MTR lacks this information or provides generic email addresses, it should raise your suspicion. Think of this section of the MTR as the manufacturer's official stamp of identity; any ambiguity or inconsistency is a signal to stop and investigate further.
Cross-Verification Techniques for Due Diligence
Once you have the manufacturer's details from the MTR, the next phase is active verification. Don't just trust what's on the paper; confirm it independently. The first and easiest step is a thorough check of the manufacturer's official website. Does the information on the MTR match the details on their "Contact Us" or "About Us" page? Look for consistency in the address, company name, and branding. For our clients at MFY, we encourage them to visit our site, www.mfysteel.com, where they can see our facilities and confirm our details.
Beyond the company website, use third-party sources. Online business directories, industry association member lists, and even a simple search on Google Maps can be incredibly revealing. If you search for the mill's address on Google Maps, do you see a large industrial facility or a residential house? This simple technique has helped our clients avoid fraudulent suppliers more than once. Another effective method, especially for large orders, is to contact the manufacturer directly using contact information obtained from their official website (not the MTR itself) to validate the MTR's authenticity.
A powerful tool for this process is comparison. We often provide new clients with a sample MTR to use as a benchmark. Below is a comparison of what to look for in a legitimate MTR versus the red flags you might find on a questionable one. This direct comparison makes it easier to spot potential issues.
| Feature | Legitimate MTR (e.g., MFY) | Suspicious MTR (Red Flags) |
|---|---|---|
| Company Name | Full legal entity name clearly stated | Vague name, abbreviations, slight misspellings |
| Address | Full physical address of the specific mill | P.O. Box, no address, or a non-industrial location |
| Logo | High-resolution, official company logo | Blurry, distorted, or outdated logo |
| Contact Info | Official website and phone number listed | No contact info or generic email (e.g., @gmail.com) |
The Role of Digital Signatures and QR Codes
In response to the rising sophistication of counterfeiters, the industry is moving towards more secure, digital forms of verification. At MFY, we are at the forefront of this shift. Many of our Mill Test Reports now incorporate digital security features that make forgery virtually impossible. These features provide our clients—from large construction contractors to specialized equipment integrators—with a higher level of assurance.
One of the most effective tools we've implemented is the QR code. When you scan the QR code on an MFY MTR with a smartphone, it links directly to a secure, read-only version of the report stored on our server. This allows for instant, on-the-spot verification. You can compare the physical document in your hand with the official digital version, ensuring they are identical. This eliminates any possibility of data tampering after the report has been issued. According to a 2023 report on supply chain fraud, digital verification methods can reduce the incidence of counterfeit documentation by over 90%.
Digital signatures are another layer of security. A digitally signed MTR contains cryptographic proof that the document is authentic and has not been altered. It confirms the identity of the signer (our quality assurance manager) and the integrity of the data. This is far more secure than a simple scanned signature, which can be easily copied. As our clients in high-stakes industries like oil and gas or chemical processing know, the assurance provided by these digital tools is invaluable. It transforms the MTR from a static document into a dynamic, verifiable record of quality, perfectly aligning with our vision of driving innovation in the stainless steel supply chain.
MTRs verify material originTrue
Mill Test Reports act as a material's passport, confirming its manufacturing source and quality specifications.
PO boxes indicate legitimacyFalse
Manufacturer addresses should show physical mill locations; PO boxes may indicate attempts to obscure origin.
Step 2: Confirm the material's specifications and standards
Problem: The MTR lists a string of codes and numbers, but you're not entirely sure what they mean. Agony: Ordering the wrong grade or spec could render the material useless for your application, causing costly delays. Solution: Learn to decode the specifications and standards section.
To confirm a material's specifications on an MTR, you must match the grade (e.g., 304L, 316L stainless steel, standard (e.g., ASTM A312, EN 10217-7), and dimensions (e.g., outer diameter, wall thickness) against your original purchase order and project engineering requirements.
This step is where you connect the document to your actual physical requirements. It’s about ensuring the "language" of the MTR—its grades and standards—matches the "language" of your project. I once worked with a new equipment integrator in the Middle East who was building a desalination plant. They had specified stainless steel tubes grade 316L (UNS S31603) for its superior corrosion resistance in saline environments. The MTR from a previous supplier listed the material as grade 316 (UNS S31600). The difference seems minor—just the absence of an "L"—but it's critical. The "L" indicates low carbon content, which is essential for preventing corrosion after welding. Had they not caught this, the welds on their pipe system would have failed within a few years. We stepped in and supplied the correct ASTM A312 TP316L tubes, backed by an MTR that clearly and accurately stated the correct grade. This experience underscores why you must be meticulous. It's not just about getting "stainless steel"; it's about getting the exact stainless steel your project demands, and the MTR is your primary tool for verification.
Understanding the specifications and standards section is akin to learning the grammar of materials science. This part of the MTR tells you not just what the material is, but what rules it was made to follow. These standards, developed by bodies like ASTM International, the European Committee for Standardization (CEN), or the Japanese Industrial Standards (JIS), are the result of decades of engineering, research, and field experience. They dictate everything from the material's chemical makeup to its performance under stress. A 2024 study by the Manufacturing Alliance for Productivity and Innovation highlighted that adherence to recognized standards is a primary driver of quality and interoperability in global supply chains. When an MTR references a specific standard, like ASTM A312 for seamless and welded austenitic stainless steel pipes, the manufacturer is making a legally binding claim that the product meets every single requirement of that standard. For you, the buyer, this section is your guarantee of performance and compatibility. Ignoring or misinterpreting it is like building on an unstable foundation.
Decoding Grades and Standards
The language of material specifications can be intimidating, but it's systematic. The first key piece of information is the material grade. For stainless steel pipes, you will commonly see grades like TP304, TP304L, TP316, or TP316L. Each alphanumeric code represents a specific alloy with a distinct chemical composition and, therefore, distinct properties. For example, as mentioned before, "316L" has a lower carbon content than "316," making it better for welded applications to avoid chromium carbide precipitation and subsequent corrosion. At MFY, we deal with a wide range of grades and always ensure our MTRs clearly specify the grade supplied, matching the client's purchase order to the letter.
Next to the grade, you'll find the governing standard. This is a critical reference point. For instance, ASTM A312 is a common standard for stainless steel pipes used in high-temperature and general corrosive service. EN 10217-7 is its European equivalent for welded steel tubes for pressure purposes. These standards are not interchangeable, and you must ensure the one listed on the MTR is the one specified for your project or region. A client of ours in the construction industry in Russia once needed pipes compliant with GOST standards (the national standards of the Russian Federation). We were able to source and supply materials with MTRs certifying compliance with the specific GOST standard required, demonstrating the importance of aligning the MTR's certified standard with regional and project-specific regulations.
Finally, this section should include the dimensions and form of the material. For stainless steel tubes, this means the Outer Diameter (OD), Wall Thickness (WT), and length. These must be checked against your order to ensure you received the correct physical product. An MTR that is missing this level of detail is incomplete and should be questioned immediately.
The Critical Link to Your Purchase Order
The MTR is not a standalone document; it is intrinsically linked to your purchase order (PO). The ultimate test of this section is a side-by-side comparison with your PO. Every key detail—grade, standard, dimensions, quantity—must match perfectly. Any discrepancy is a major red flag that requires immediate clarification. I advise my clients to make this comparison a mandatory part of their receiving process, before the material is even unloaded.
I recall an instance with a distributor in Southeast Asia who ordered a large quantity of 2-inch schedule 40 pipes. The shipment arrived, and the MTR correctly listed the grade and standard. However, upon a detailed check, our team noticed the MTR listed the wall thickness that corresponded to schedule 10. It was a clerical error on the MTR from the mill that was caught before it became a major issue. We immediately rectified it and issued a corrected MTR. This taught us a valuable lesson: trust but verify every single line item. This meticulous check prevents incorrect material from entering your inventory or, worse, being installed in a project.
This cross-check is your final confirmation that you got what you paid for. It’s a moment of accountability for the entire supply chain. At MFY, our integrated system links the PO directly to the production order and the final MTR, creating a seamless data trail that minimizes the chance of such errors. We provide this transparency because we know that for our clients, from traders to large contractors, this link between the commercial agreement (the PO) and the technical proof (the MTR) is the foundation of a reliable partnership.
Navigating International and Regional Standards
The global nature of the steel trade means you will inevitably encounter materials certified to different international and regional standards. While ASTM standards are prevalent in North America, European projects will demand EN standards, and other regions may have their own specific requirements. It's crucial to understand that these standards are not always directly equivalent. For example, while ASTM A312 TP316L and EN 10217-7 1.4404 are similar materials, there can be subtle differences in their required chemical compositions or mechanical properties.
A key part of our role at MFY is to help our clients navigate this complex landscape. We have a team of specialists who are experts in comparing different international standards. We once assisted a manufacturing company in India that had designed a piece of equipment using an EN-specified tube but wanted to source it more efficiently from China. We were able to analyze their requirements and supply a product manufactured to an equivalent GB standard (Chinese National Standard), providing them with a comparative analysis and an MTR that demonstrated the material met or exceeded the performance criteria of the original EN specification.
This requires a deep level of technical expertise and a commitment to clear communication. We often include a note in our documentation explaining the equivalency of standards when supplying a product under a different system than the one requested, ensuring the client's engineering team is fully informed and confident in the material's suitability. This ability to bridge the gap between different standards is a key strength of a globally-focused supplier. It ensures that no matter where our clients are located or what regulations they operate under, they receive stainless steel products that are fit for purpose and fully compliant.
316L has lower carbon than 316True
The "L" in 316L specifically denotes low carbon content (max 0.03%), which prevents chromium carbide precipitation during welding.
ASTM and EN standards are identicalFalse
While similar, ASTM (American) and EN (European) standards often have different testing requirements and allowable composition ranges.
Step 3: Check the chemical composition and mechanical properties
Problem: You're staring at a table full of chemical symbols and mechanical test results on the Mill Test Report (MTR)3. Agony: You're not a metallurgist, and you fear that hidden within these numbers is a sign of poor quality that could compromise your entire project. Solution: Focus on comparing the actual results to the standard's required ranges.
To check the chemical composition and mechanical properties on an MTR, you must compare the "actual" test results listed for each element and property against the "required" minimums and maximums specified by the material standard. Every single result must fall within its required range.
This is the heart of the MTR, the section that provides the scientific proof of the material's identity and performance capabilities. It’s where the steel’s DNA is laid bare. A few years ago, I worked with a construction contractor building a high-pressure piping system. Their engineering team specified a maximum carbon content of 0.030% (as per 316L specs). An MTR from a potential supplier showed a carbon content of 0.035%. While seemingly a tiny deviation, this small increase would have compromised the weld's corrosion resistance under operating conditions. By catching this on the MTR, they avoided a potentially catastrophic failure. This is why we, at MFY, not only guarantee our results are within spec but often aim for the optimal chemical composition4 within the specification, delivering a more reliable product. It proves that a thorough check of these values isn't just academic; it's a critical risk-mitigation practice.
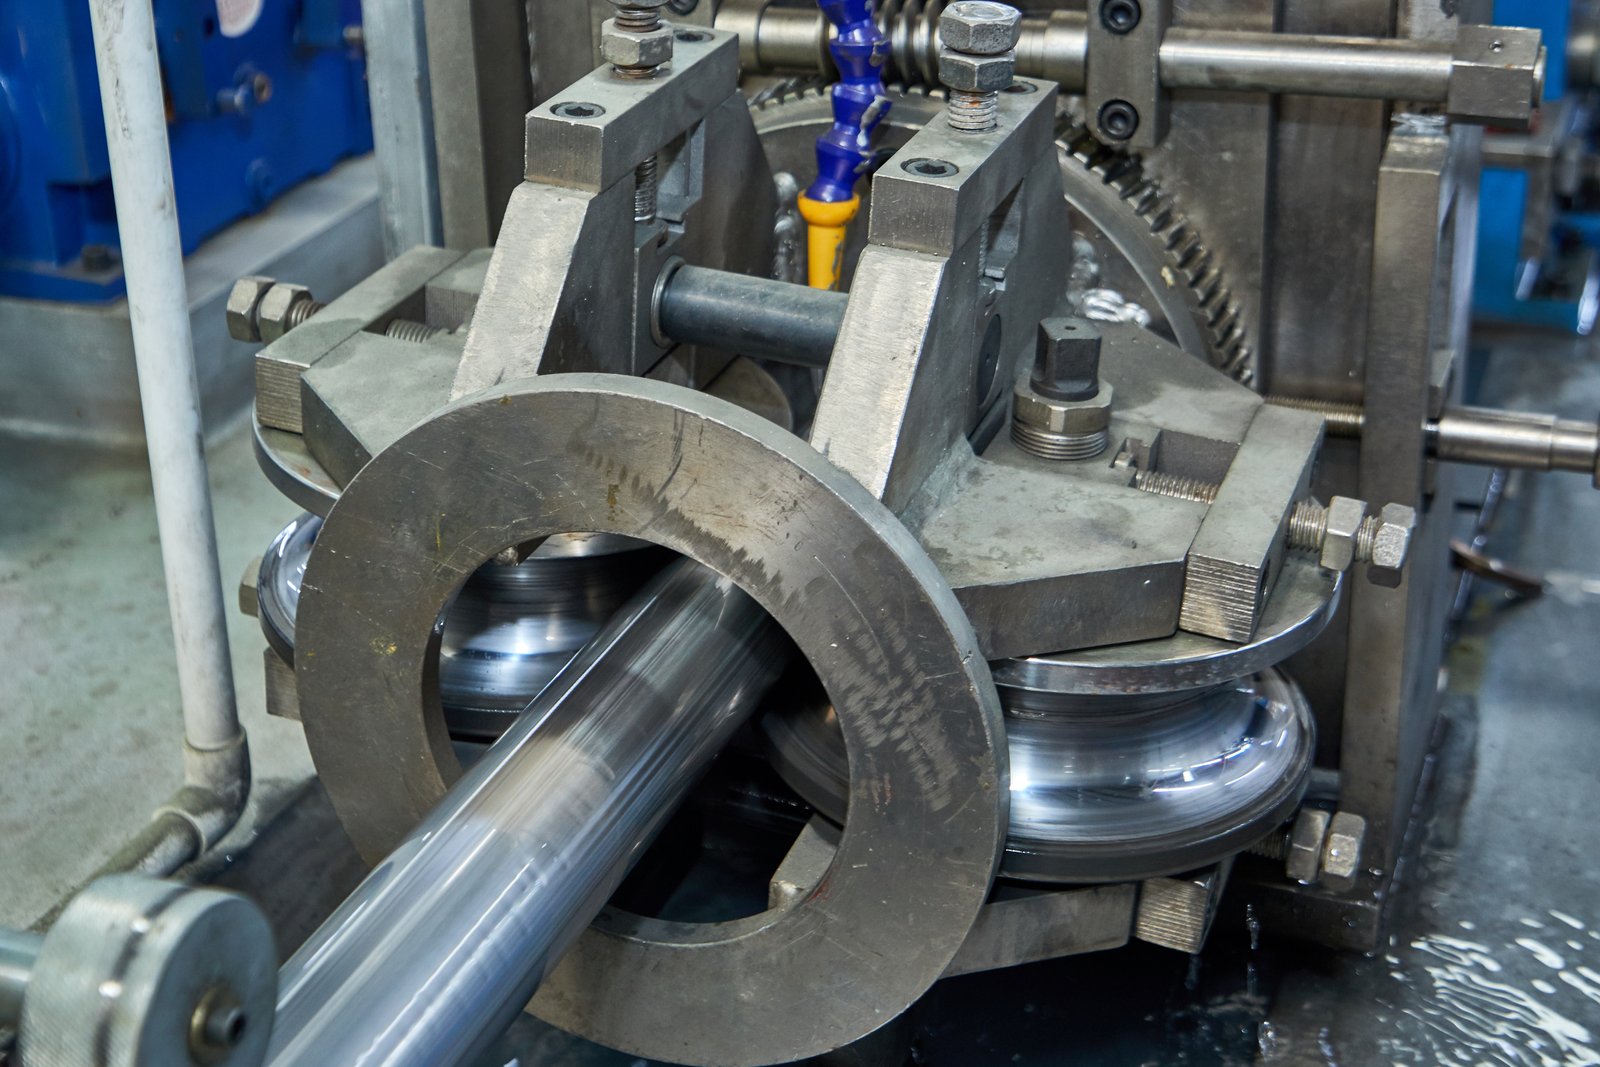
The chemical and mechanical properties sections are the core evidence of the material's quality. They represent the manufacturer's certified test results, proving the material conforms to the designated standard. The chemical analysis details the precise recipe of the alloy, which dictates its fundamental characteristics like corrosion resistance and performance at high temperatures. The mechanical properties, on the other hand, describe how the material behaves under physical stress—its strength, ductility, and hardness. According to a study by the American Society for Metals (ASM International), over 80% of metal failures are attributable to factors like fatigue, corrosion, and overload, all of which are directly related to the material's chemical and mechanical properties. Therefore, meticulously verifying these two sections of the MTR isn't just a quality check; it's a predictive measure to ensure the material's long-term performance and safety in its intended application. It's the most data-rich part of the report and your best tool for confirming that the product will perform as engineered.
Analyzing the Chemical Composition Data
The chemical composition section of an MTR is typically presented in a table, listing various chemical elements and their percentage by weight in the alloy. For austenitic stainless steels like the 300 series, the most critical elements to check are Chromium (Cr), Nickel (Ni), Molybdenum (Mo), and Carbon (C)4. Chromium provides basic corrosion resistance, Nickel enhances toughness and ductility, Molybdenum significantly improves resistance to pitting and crevice corrosion (especially important for grade 316/316L), and Carbon content affects weldability and corrosion resistance.
Your task is to act as an auditor. For each element listed, you will see a column for the required range (min/max) as dictated by the standard (e.g., ASTM A312) and a column for the actual measured result from the specific batch of material (the "heat"). Every single actual value must be within the specified range. There are no exceptions. For example, for stainless steel grade 316L, the ASTM A240 standard (which is often referenced for the base material of pipes) requires Chromium to be between 16.0-18.0%, Nickel between 10.0-14.0%, Molybdenum between 2.00-3.00%, and Carbon at a maximum of 0.030%. If the MTR shows an actual Nickel content of 9.8%, the material does not meet the 316L specification, even if all other elements are perfect.
At MFY, our internal quality control is extremely strict. Our goal is not just to meet the minimum requirements but to control the chemistry to achieve optimal properties. For clients in corrosive environments, we ensure the Molybdenum content is comfortably above the 2.00% minimum, providing an extra margin of safety. This commitment to quality is reflected in the consistency of the chemical analysis on our MTRs.
Interpreting Mechanical Property Test Results
The mechanical properties section quantifies the material's performance under physical loads. The three most common and important properties listed on an MTR for stainless steel tubes are Tensile Strength, Yield Strength, and Elongation5. These are determined by a tensile test, where a sample of the material is pulled until it breaks.
Tensile Strength (TS) is the maximum stress the material can withstand while being stretched or pulled before breaking. It’s a measure of its ultimate strength. Yield Strength (YS) is the stress at which the material begins to deform permanently. This is often the more critical value for engineers, as it represents the practical limit of the material's elastic behavior. Elongation measures the material's ductility—how much it can stretch or deform before fracturing. It is expressed as a percentage. A high elongation value is desirable in applications requiring formability or in structures that need to absorb energy without catastrophic failure.
Just like with the chemical analysis, you must compare the actual test results to the minimum values required by the standard. For example, for ASTM A312 TP316L, the standard requires a minimum Tensile Strength of 70 ksi (485 MPa), a minimum Yield Strength of 25 ksi (170 MPa), and a minimum Elongation of 35%. The MTR must show actual values that meet or exceed all of these minimums. A failure in even one property means the material is non-compliant. A detailed MTR might also include results for hardness tests (e.g., Rockwell or Brinell), which measure resistance to localized plastic deformation.
| Property | Standard Requirement (ASTM A312 TP316L) | Sample MFY Result (Actual) | Status |
|---|---|---|---|
| Tensile Strength | ≥ 485 MPa | 560 MPa | PASS |
| Yield Strength | ≥ 170 MPa | 245 MPa | PASS |
| Elongation | ≥ 35% | 45% | PASS |
| Hardness | ≤ 95 HRB | 90 HRB | PASS |
Red Flags and Common Discrepancies
When reviewing these sections, be vigilant for several red flags. The most obvious is a result that is outside the specified range. But you should also be suspicious of MTRs where the results are "too perfect." For example, if the MTR for ten different heats of material all show the exact same chemical analysis down to the third decimal point, it is highly likely the data is fabricated. Real-world production always has minor variations from heat to heat.
Another red flag is missing data. An MTR that omits a required test, such as elongation or a specific element from the chemical analysis, is incomplete and invalid. Similarly, be wary of corrected MTRs that have been manually altered. Any changes should be officially documented and re-issued by the manufacturer, not scribbled in the margins.
I recently advised a client who was procuring tubes for a food processing plant. Their MTR showed excellent mechanical properties, but the Molybdenum (Mo) content was listed as "0.50% max" instead of providing an actual value. Since Mo is not a primary requirement for the specified 304L grade, the supplier deemed it unimportant. However, the client's process involved mild chlorides6, where even a small amount of Mo would have been beneficial. The lack of a precise value raised questions about the manufacturer's process control. We supplied them with MFY pipes where our MTRs provide a full, detailed analysis, giving them the complete picture of the material they were receiving. This level of detail empowers clients to make the most informed decisions.
MTR chemical results must match standard rangesTrue
Every chemical element's percentage must fall within the min/max ranges specified by the material standard, with no exceptions.
Yield strength is more critical than tensile strengthFalse
While yield strength is important for elastic behavior, tensile strength (ultimate breaking point) is equally critical for structural integrity.
Step 4: Review heat treatment and processing information
Problem: You see terms like "Solution Annealed" or "Cold Drawn" on the MTR but aren't sure how they impact the final product. Agony: Ignoring this information could mean accepting material that isn't properly prepared for its service environment, leading to premature failure. Solution: Understand what these processing terms mean and verify they match the requirements.
Reviewing the heat treatment and processing information on an MTR is essential to confirm the material has achieved its required microstructure and mechanical properties. You must verify that the stated process, such as "Solution Annealed at 1040°C min," aligns with the standard's requirements for the specified grade.
This section tells the story of how the raw steel was transformed into a finished, high-performance product. The heat treatment process is particularly critical for stainless steels, as it "resets" the microstructure, relieves stresses from manufacturing, and maximizes corrosion resistance. A client in the chemical industry once asked me why we emphasized our heat treatment process so much. I explained that for austenitic stainless steel tubes, improper annealing can lead to sensitization, making them highly susceptible to intergranular corrosion. An MTR that lacks details on the annealing temperature or cooling method is hiding critical information about the pipe's potential longevity. We ensure our MTRs explicitly state the heat treatment parameters, providing a guarantee that the material is in its optimal condition for demanding applications. This isn't just a manufacturing step; it's a fundamental quality assurance process.
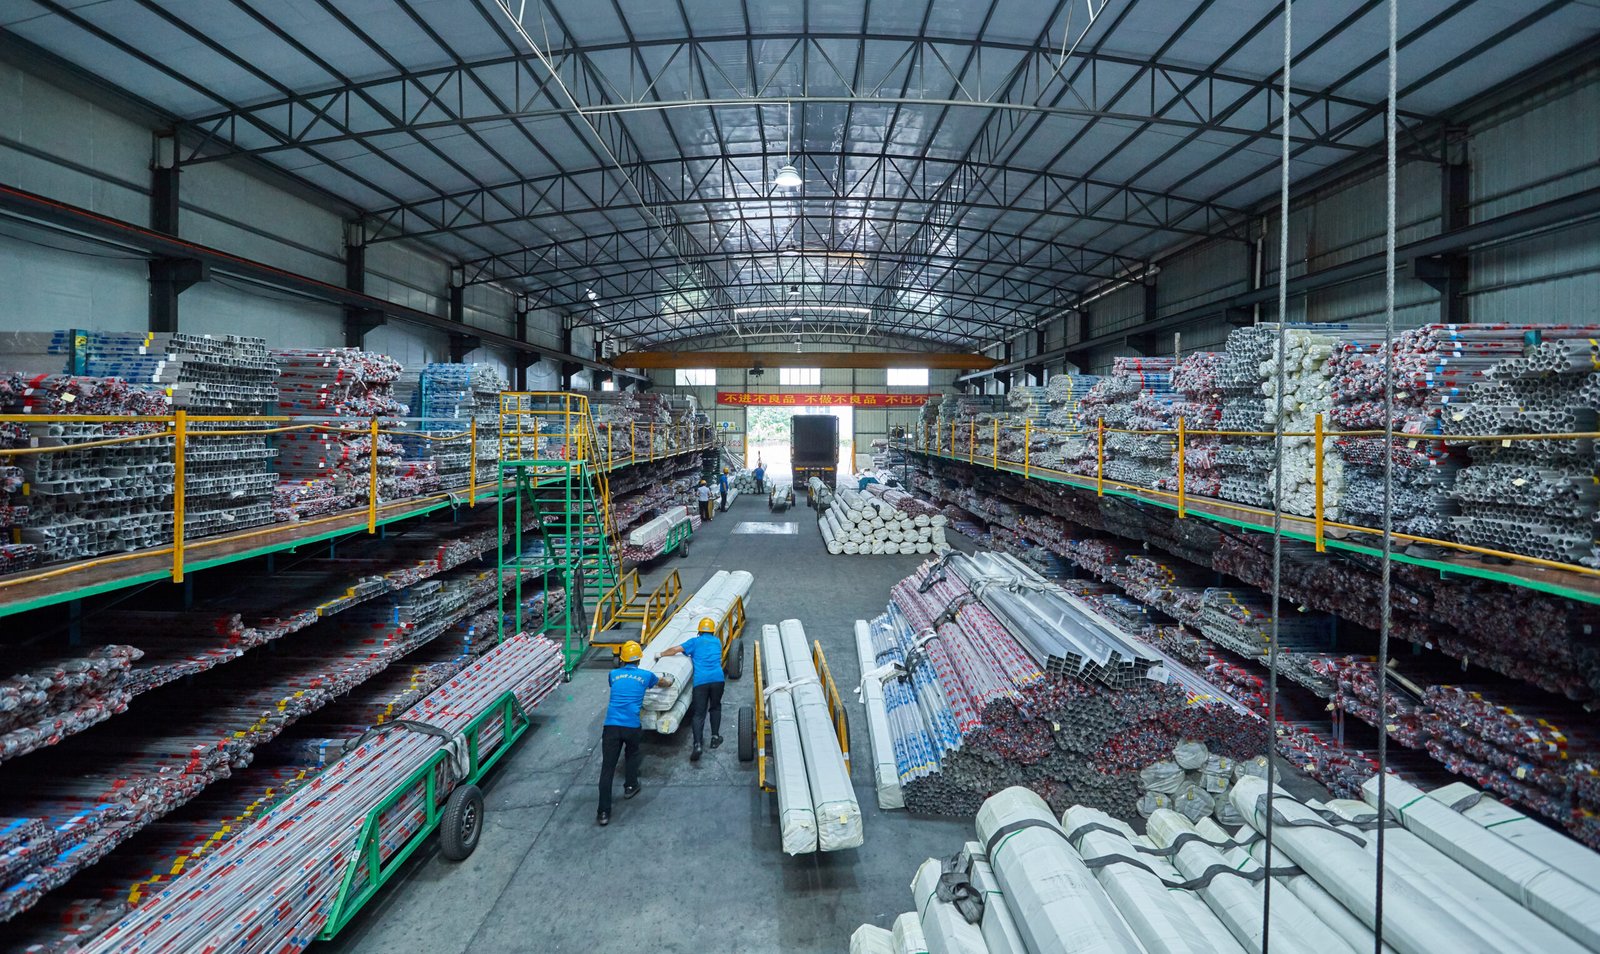
Heat treatment and processing information on a Mill Test Report are far more than just procedural notes; they are determinants of the material's final performance characteristics. For stainless steels, particularly the austenitic grades used in our pipes at MFY, heat treatment is not optional—it's a mandatory step7 dictated by the material standard to ensure the alloy performs as designed. The most common process is solution annealing, which involves heating the steel to a specific high temperature (typically above 1040°C or 1900°F) and then cooling it rapidly. This process dissolves harmful chromium carbides back into the steel matrix and relieves internal stresses, resulting in a homogenous, corrosion-resistant, and ductile structure. A 2023 paper in the Journal of Materials Engineering and Performance confirmed that deviations of as little as 50°C from the optimal annealing temperature can reduce the pitting corrosion resistance of 316L stainless steel by up to 40%. This highlights why a buyer must meticulously check this section of the MTR to ensure the manufacturer has performed this critical step correctly.
The Importance of Solution Annealing
Solution annealing is arguably the most crucial processing step for austenitic stainless steel pipes and tubes. During manufacturing processes like welding or hot forming, the steel's microstructure can be altered. Specifically, if the steel is held in a temperature range of roughly 450°C to 850°C, carbon can combine with chromium to form chromium carbides along the grain boundaries. This depletes the chromium in the surrounding areas, severely reducing the material's corrosion resistance in a phenomenon known as "sensitization." Solution annealing reverses this damage.
When you review the MTR, look for an explicit statement confirming that the material was solution annealed. The report should specify the annealing temperature. For most 304 and 316 series stainless steels, this temperature needs to be at a minimum of 1040°C (1900°F). If the MTR states a lower temperature or is vague about the process, it's a major red flag. This indicates the manufacturer may be cutting corners, which could lead to disastrous in-service failures, especially in corrosive environments.
I once worked with an equipment integrator building reactors for a pharmaceutical company. They had a failure in a pipe supplied by a different vendor. When we examined the failed part and the original MTR, we found the report only said "Heat Treated" without specifying the temperature. Our subsequent analysis showed the material was sensitized. The original supplier had likely not annealed it at a high enough temperature. This real-world case demonstrates that the details of the heat treatment process, clearly stated on the MTR, are a direct indicator of the product's quality and reliability.
Understanding Manufacturing Processes (Seamless vs. Welded)
The MTR should also provide information on how the pipe itself was manufactured. The two primary methods for stainless steel pipes are Seamless8 and Welded. A seamless pipe is produced by extruding a solid billet of steel over a piercing rod to create a hollow tube. A welded pipe is formed by rolling a steel plate into a cylindrical shape and welding the seam. Both methods can produce high-quality pipes, but they have different characteristics and are governed by different subsections of standards like ASTM A312.
The MTR must clearly state which process was used, as it has implications for the pipe's properties and potential applications. For example, seamless pipes have a uniform structure and are often preferred for very high-pressure applications. Welded pipes, thanks to modern manufacturing techniques, have excellent integrity and are often more cost-effective. At MFY, we produce both types and the MTR will always specify the manufacturing method (e.g., "Seamless" or "Electric Fusion Welded").
Furthermore, the MTR might mention additional processing steps like "Cold Drawn" or "Cold Rolled." These cold working processes are used to achieve tighter dimensional tolerances, a better surface finish, and increased mechanical strength. If your application requires the specific properties imparted by cold working, you must verify this is stated on the MTR. This ensures the material has undergone the necessary mechanical processing to meet your engineering needs.
Verifying Conformance with Standard Requirements
Ultimately, all processing information on the MTR must conform to the requirements laid out in the governing material standard. The standard itself will dictate the mandatory heat treatment procedures. For example, ASTM A312 explicitly states that all austenitic pipes must be furnished in the heat-treated condition and specifies the solution treatment procedure.
Your job as a buyer is to check for this alignment. Does the heat treatment temperature on the MTR meet the minimum temperature specified in the standard? Does the MTR specify a rapid cooling method (e.g., "water quenched"), which is also a requirement to prevent the re-formation of carbides? This verification step connects the manufacturer's stated actions with the established rules of quality.
We recently had a case with a client in the oil and gas sector who needed pipes for a sour gas application. The applicable NACE standard had even stricter requirements for heat treatment than the base ASTM standard. We had to ensure our production process was adjusted accordingly, and our MTRs for that order included a specific note certifying compliance with both the ASTM and the supplementary NACE requirements. This demonstrates how the MTR serves as a crucial document for verifying compliance not just with general standards, but also with industry-specific and project-specific quality requirements, providing a comprehensive quality assurance record.
Solution annealing prevents sensitizationTrue
Proper solution annealing dissolves chromium carbides, maintaining corrosion resistance by preventing chromium depletion at grain boundaries.
Welded pipes are weaker than seamlessFalse
Modern welded pipes have excellent integrity and can match seamless pipes in many applications, though they have different optimal use cases.
Step 5: Examine test and inspection results included in the MTR
Problem: The MTR mentions tests like "Hydrostatic Test" or "NDT," but provides little detail. Agony: You're unsure if the material was properly tested for leaks or hidden flaws, creating a risk of failure under pressure or from unseen defects. Solution: Verify that the required tests9 were performed and that the results are explicitly stated as "Pass" or "Conform."
Examining the test and inspection results on an MTR involves confirming that all mandatory tests required by the standard, such as hydrostatic testing and non-destructive testing (NDT), have been performed and passed. The MTR must explicitly state the test conducted and the positive outcome.
This section provides proof that the material didn't just have the right theoretical properties but also passed real-world quality control checks. Think of it as the pipe's final exam. A few years ago, a construction contractor for a large commercial HVAC system showed me an MTR from another supplier that had a blank space next to "Hydrostatic Test." The supplier claimed the test was standard procedure and didn't need to be documented. This is unacceptable. The MTR is the record of that procedure. We supplied them with MFY pipes, and our MTR clearly stated: "Hydrostatic Test: Pass @ 2500 PSI." This explicit confirmation gave them the auditable proof they needed to sign off on the system's safety and integrity. The presence—or absence—of these results speaks volumes about a manufacturer's commitment to quality.
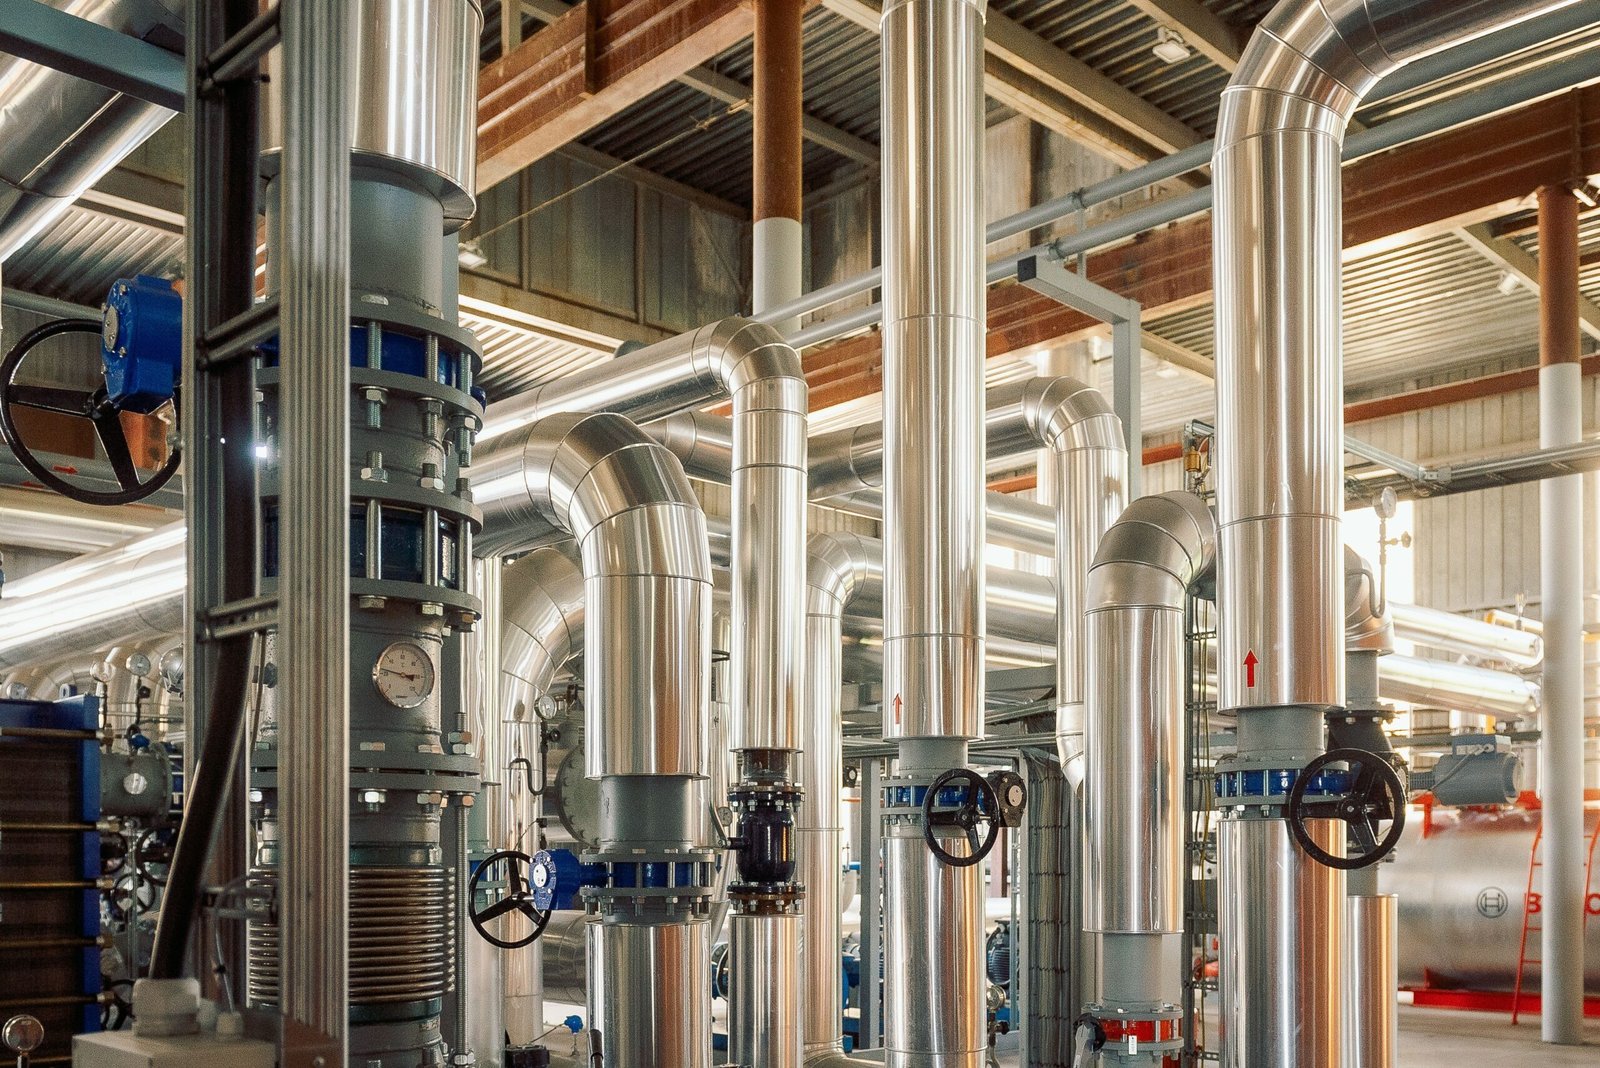
The test and inspection section of a Mill Test Report serves as the final, practical verification of the product's integrity. While the chemical and mechanical sections report on the material's intrinsic properties, this section certifies that the finished product—the pipe you are buying—is free from manufacturing defects that could cause it to fail. Material standards like ASTM A312 mandate specific tests to ensure this. For example, every single pipe intended for pressure applications must undergo testing to prove it can withstand pressure without leaking. The most common of these is the hydrostatic test. Furthermore, for applications requiring a higher degree of integrity, non-destructive testing (NDT) is employed to find hidden flaws that are not visible to the naked eye. According to the American Society for Nondestructive Testing (ASNT), proper application of NDT can prevent catastrophic failures in critical components by identifying defects like cracks, voids, or welding flaws early in the production cycle. Therefore, this section of the MTR is your evidence that the product is not just theoretically sound, but practically proven to be fit for service.
The Role of Hydrostatic and Pressure Testing
The hydrostatic test is a fundamental requirement for any pipe or tube intended to carry fluids under pressure. The test involves filling the pipe with water, sealing it, and pressurizing it to a level significantly higher than its intended operating pressure. This pressure is held for a specific duration to ensure there are no leaks or permanent deformations in the pipe body or weld seam. It is a simple but highly effective proof test.
When you examine the MTR, you must look for a clear statement that the hydrostatic test was performed and that the result was a "Pass." A comprehensive MTR, like those we issue at MFY, will go a step further and state the actual test pressure that was applied. This pressure is calculated based on the pipe's diameter, wall thickness, and the material's specified minimum yield strength, using a formula provided in the material standard (e.g., ASTM A999, which provides general requirements for alloy pipes).
For example, for a 2-inch Schedule 40 TP316L pipe, the required test pressure might be around 2500 PSI. Seeing "Hydro Test: Pass at 2500 PSI" on the MTR gives you much greater confidence than a simple "Pass." It demonstrates that the manufacturer has done the calculations and performed the test to the full requirement of the standard. If this information is missing, you have no certified proof that the pipe can safely handle pressure.
Understanding Non-Destructive Testing (NDT)
Non-Destructive Testing (NDT) refers to a group of analysis techniques used to evaluate the properties of a material or component without causing damage. For welded pipes, NDT is particularly crucial for inspecting the integrity of the weld seam. The material standard will specify whether NDT is required and, if so, which methods are acceptable10. Common NDT methods mentioned on MTRs for pipes include Eddy Current Testing or Ultrasonic Testing.
Eddy Current (ET) testing uses electromagnetic induction to detect surface and near-surface flaws. Ultrasonic Testing (UT) uses high-frequency sound waves to detect internal flaws. The MTR should state which NDT method was used and confirm that the pipe passed the examination according to the acceptance criteria in the standard.
I once consulted for a manufacturing company that was making heat exchangers. They experienced a failure in a welded tube that had been sourced from a non-certified supplier. The MTR was very basic and made no mention of NDT. Our investigation revealed a significant flaw in the weld seam that would have been easily detected by a standard eddy current test. This incident underscores the importance of NDT. At MFY, for all our welded pipes, we perform 100% online NDT as part of our standard production process, and this is explicitly certified on our MTRs. This provides our clients with the assurance that the weld seam is as strong and reliable as the parent material.
Additional Tests and Supplementary Requirements
Depending on the specific grade and the client's requirements, the MTR may include results from other tests. These are often listed as "Supplementary Requirements" in the material standard, which are optional unless specified in the purchase order. These can include:
- Corrosion Tests: Tests like the intergranular corrosion test (e.g., ASTM A262) may be required for materials intended for highly corrosive environments to ensure they were properly heat-treated and are not sensitized.
- Impact Tests: For materials intended for low-temperature service, a Charpy V-notch impact test is often required to measure the material's toughness and resistance to brittle fracture at cold temperatures.
- Flattening Test: This is a common test for tubes, especially welded tubes, where a sample is flattened to a specific height to test the ductility of the material and the integrity of the weld.
When you place an order that requires any of these supplementary tests, it is absolutely critical that you verify the results are reported on the MTR. I worked with a client building an LNG facility, where low-temperature toughness was a critical safety requirement. Their PO specified mandatory Charpy impact testing. The first MTR they received from a different supplier made no mention of it. They rightly rejected the material. When we supplied the order, our MTR included a dedicated section detailing the Charpy test results at the required temperature (-196°C), giving them the certified proof they needed to proceed with confidence. This illustrates how the MTR must be a complete reflection of all testing requirements, both standard and supplementary.
Hydrostatic tests verify pipe integrityTrue
Hydrostatic testing is a mandatory pressure test that proves a pipe can safely contain fluids under pressure without leaking or deforming.
NDT is optional for welded pipesFalse
Non-destructive testing (NDT) is crucial for welded pipes to detect hidden flaws in weld seams, and is often required by material standards.
Conclusion
Mastering these seven MTR checks transforms a complex document into a powerful tool. It’s how you verify quality, mitigate project risks, and ensure supply chain integrity. This diligent process empowers you to move beyond trust and to procure stainless steel with data-driven, verifiable confidence.
-
Understand integration benefits of MTR in ERP systems for efficiency ↩
-
Discover risks and implications of counterfeit steel in global markets ↩
-
Learn about the documentation that certifies a material's quality in steel manufacturing ↩
-
Understand the roles these elements play in enhancing alloy characteristics ↩ ↩
-
Grasp the significance of key mechanical properties in evaluating material performance ↩
-
Learn about the benefits of Molybdenum in enhancing corrosion resistance in specific conditions ↩
-
Discover how heat treatment influences the mechanical properties and corrosion resistance of stainless steels. ↩
-
Understand the characteristics and applications of seamless vs. welded pipes in industrial settings. ↩
-
Learn about essential tests necessary to ensure pipe material integrity ↩
-
Learn about NDT methods used to ensure weld integrity in pipes ↩
Have Questions or Need More Information?
Get in touch with us for personalized assistance and expert advice.
